

Best Time of Day for Photos: When to Schedule Sessions
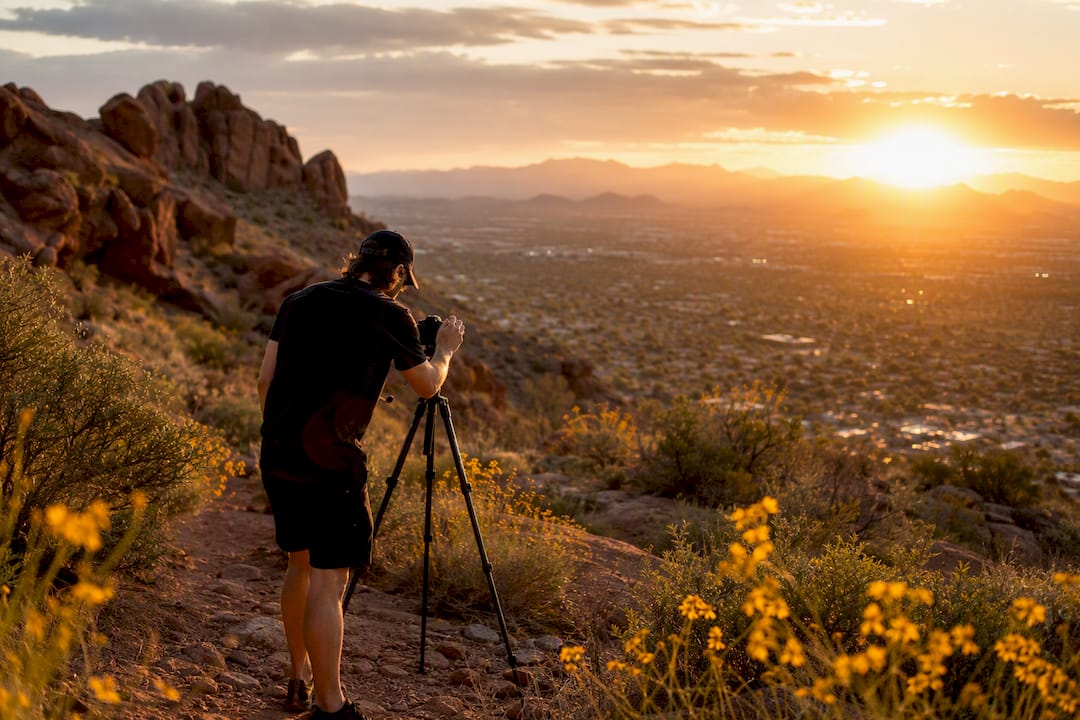
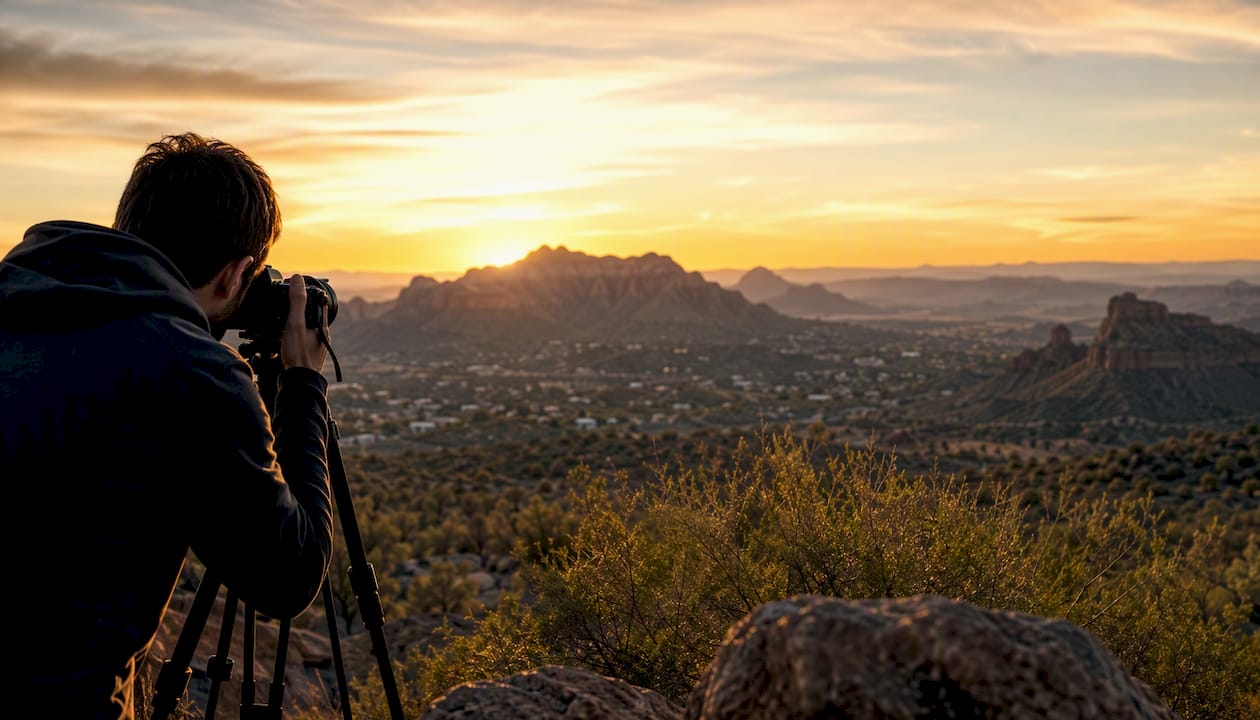
The best time of day for photos is golden hour, the hour after sunrise and the hour before sunset, followed closely by blue hour, the short twilight window just after sunset. Both windows give you soft, flattering, low-contrast light that midday sun simply cannot match. One caveat: clouds, latitude, and the season shift the exact clock times and how long each window lasts, so check a tool like PhotoPills or Timeanddate before you plan a shoot.
- Golden hour: usually lasts between a quarter and an hour after sunrise or before sunset
- Blue hour: roughly 15 to 40 minutes right after sunset or before sunrise
- No golden hour available? Open shade or overcast skies are the strongest midday backup
- JFPhotos builds every outdoor session schedule around these windows, then adjusts for your location and the day’s forecast
Key Takeaways
Golden hour and blue hour give outdoor and portrait photos consistently softer, more flattering light than any other time of day, but weather, season, and latitude all shift the exact timing.
| Point | Details |
|---|---|
| Golden hour is the default | Shoot in the hour after sunrise or before sunset for warm, low-contrast, flattering light. |
| Blue hour suits different subjects | Use the 15 to 40 minute window after sunset for cityscapes, architecture, and long exposures. |
| Midday needs modifiers | Rescue harsh midday light with open shade, scrims, reflectors, or fill flash. |
| Timing shifts by season and latitude | Check PhotoPills or timeanddate.com instead of relying on a fixed clock time. |
| JFPhotos plans around the light | Sessions are scheduled and sequenced around golden hour, blue hour, or the best available backup. |
Table of Contents
- What Is Golden Hour and Why Does It Flatter Portraits?
- When Is Blue Hour and What Should You Shoot Then?
- Morning or Evening: Which Golden Hour Wins?
- Why Is Midday Light So Hard to Work With?
- How Do Season and Latitude Change Golden Hour Timing?
- What Camera Settings Work Best for Each Time of Day?
- What Apps Help You Find the Exact Golden Hour Time?
- When Should You Break the Golden Hour Rule?
- How Does JFPhotos Plan a Session Around Natural Light?
- How Do You Shoot Well When Natural Light Isn’t an Option?
- A Photographer’s Take on Sunrise vs. Sunset Sessions
- Ready to Book a Session Timed Around the Best Light?
- Sources
What Is Golden Hour and Why Does It Flatter Portraits?
Golden hour happens when the sun sits low on the horizon, which changes both the color and the direction of the light hitting your subject. During this window, color temperature can drop to around 2,000 to 3,500 Kelvin), producing that warm, amber glow photographers chase. Contrast also drops because the light travels through more atmosphere, resulting in softer and more diffused light.
That combination of warmth and low contrast is exactly why golden hour flattens harsh shadows on a face and makes skin tones look healthier without any editing. The dimensionality comes from longer, softer shadows rather than the flat glare of midday sun, which is what actually gives portraits depth instead of just warmth.
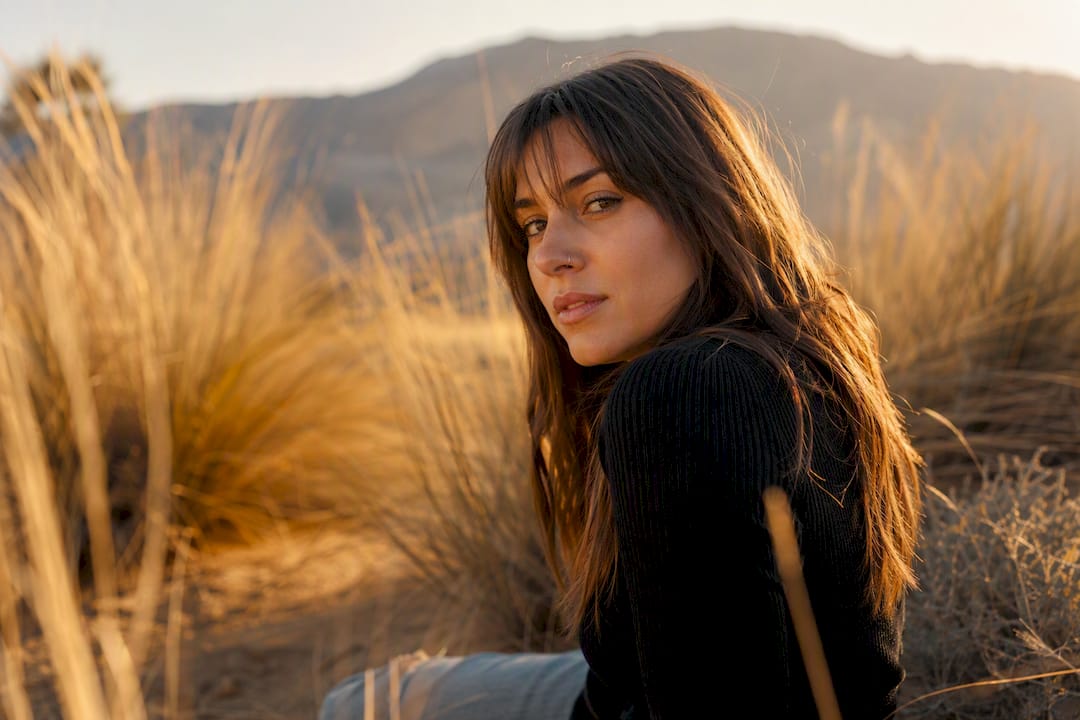
Duration varies by location and season. In temperate zones, golden hour typically lasts for a moderate period depending on latitude and time of year. When the sun rises significantly above the horizon, the light gradually loses its golden quality and becomes harsher like midday sun.
Golden hour opens up creative options you don’t get at other times:
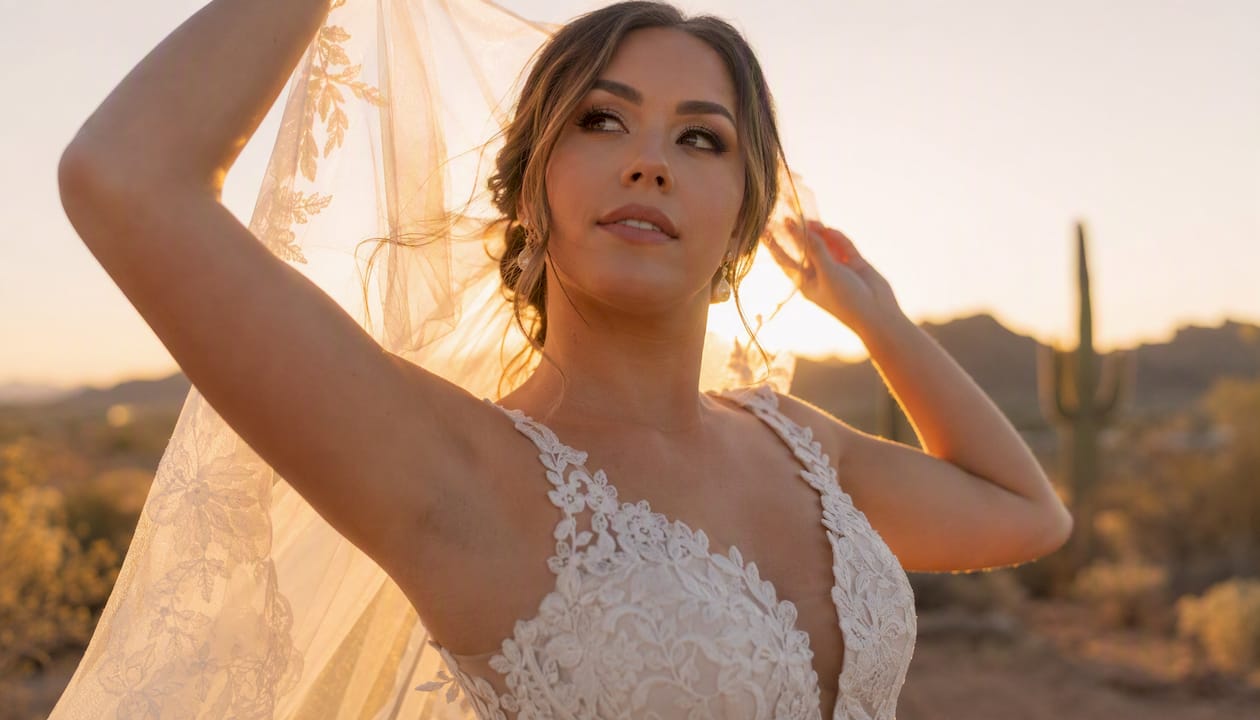
- Backlighting for glowing rim light around hair and shoulders
- Side lighting for classic, dimensional portrait modeling
- Silhouettes against a bright, colorful sky
- Landscape texture as long shadows reveal terrain and foliage detail
Pro Tip: Position your subject with the sun at their back or side, not straight in their eyes, and you can shape the light into butterfly, loop, or Rembrandt patterns just by pivoting their shoulders a few degrees. Small rotations make a big difference in how the shadows fall across the cheeks and nose.
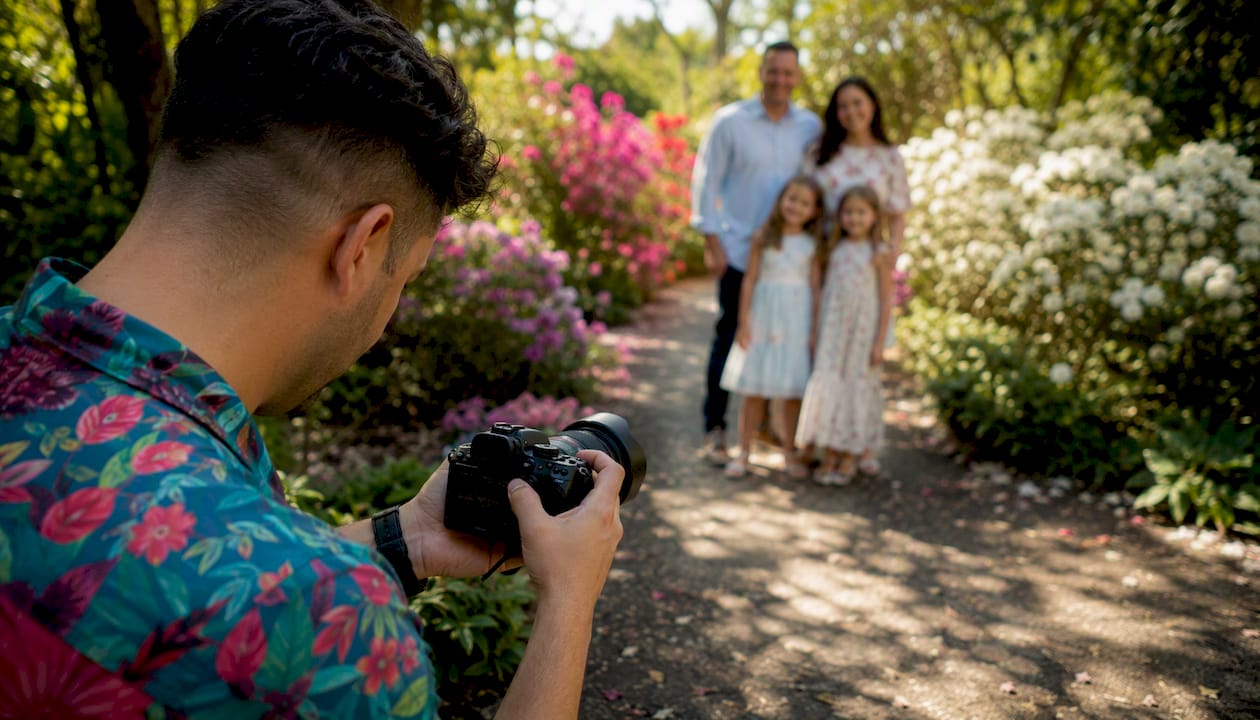
For couples and families who want that glow without squinting through a session, natural light family photography built around this window tends to produce the most consistently flattering results.
When Is Blue Hour and What Should You Shoot Then?
Blue hour is the short stretch of twilight when the sun has dropped below the horizon but the sky still holds a deep, saturated blue. It typically runs 15 to 40 minutes, shorter than golden hour, and it happens twice a day: right before sunrise and right after sunset.
The color palette here is the opposite of golden hour. Instead of warm ambers, you get cool blues and purples, plus the added bonus of ambient city lights or streetlamps beginning to glow against a still-bright sky. That’s what makes blue hour so useful for:
- Cityscapes and skyline shots where building lights need a colorful sky to play against
- Architecture photography that benefits from a cool, moody backdrop
- Long-exposure shots of traffic trails, fountains, or water
- Portraits set against illuminated urban backdrops, where ambient light supplements your subject
Because the light is dimmer than golden hour, blue hour usually demands a tripod, a fast lens, or a camera with strong high-ISO performance to keep shots sharp without excessive noise.
Morning or Evening: Which Golden Hour Wins?
Sunrise and sunset both deliver golden light, but they feel completely different to shoot.
Morning sessions give you quieter locations, cleaner air, and far fewer bystanders wandering into frame. The tradeoff is an early call time and cooler temperatures, which matters if your clients are wearing lightweight wedding attire or short sleeves.
Evening sessions tend to be easier to schedule around work and school, and the atmosphere often carries a warmer, richer tone as the day’s haze catches the low sun. The downside: popular parks and trailheads get busier as the day winds down, and summer haze can occasionally mute colors.
A simple scheduling rule solves most of the stress: have clients arrive about 30 minutes before golden hour begins, so you have time to settle in, test a few angles, and start shooting the instant the light turns. Brief them on the sequence in advance, too. If you know the plan, you won’t burn irreplaceable golden minutes figuring out where to stand.
Why Is Midday Light So Hard to Work With?
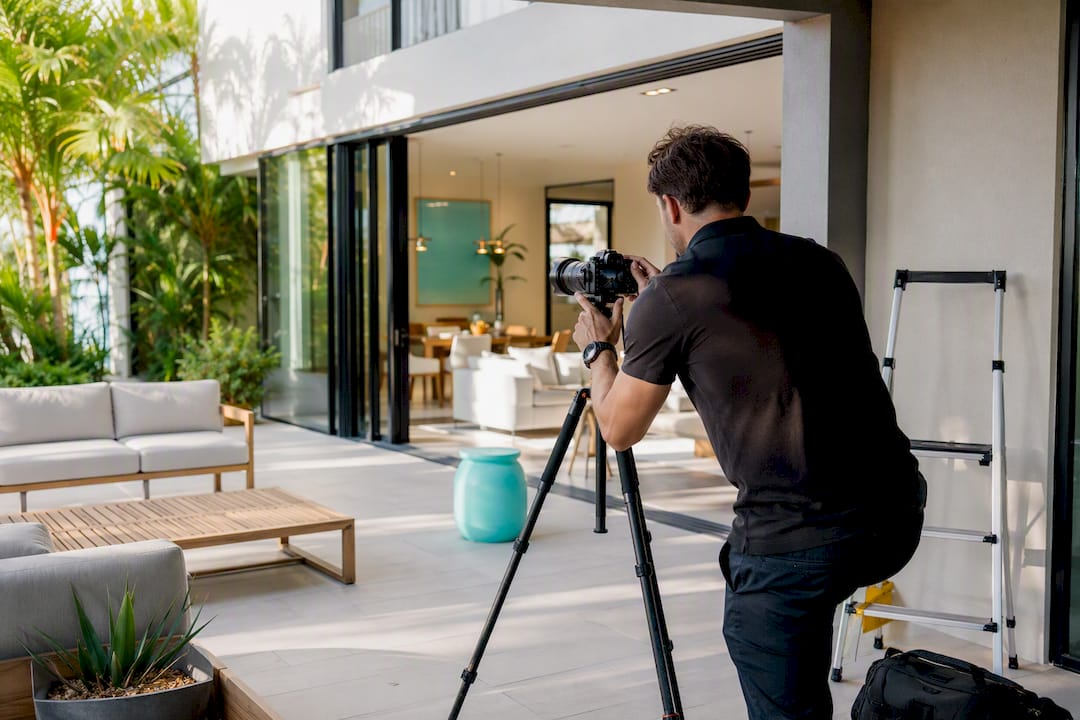
Midday sun sits almost directly overhead, and that creates the least flattering angle for a human face: deep shadows under the eyes and nose, harsh contrast, and every skin texture exaggerated. It’s the most challenging window for portrait work, though it’s far from unworkable if you know the fixes.
- Move into open shade. A building overhang, a tree canopy, or the north side of a structure softens the light instantly.
- Bring a scrim or diffusion panel. Hold it between the sun and your subject to turn hard light into soft light on demand.
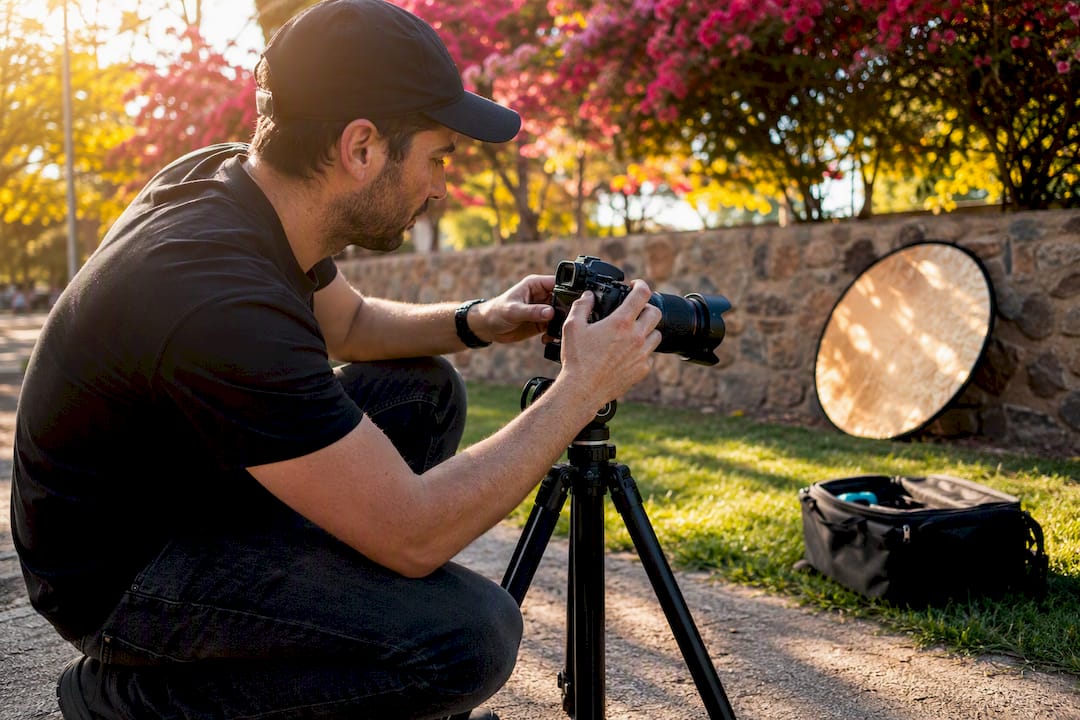
- Add a reflector. Bounce light back into shadowed areas of the face to fill in the harsh contrast.
- Use fill flash or a speedlight. A quick burst balances the shadows without changing the overall exposure.
- Reach for a polarizer or ND filter. A polarizer cuts glare and deepens the sky; an ND filter lets you shoot wide open or slow your shutter for creative effect even in bright sun.
A basic midday kit covers most of this: a 5-in-1 reflector, a lightweight scrim, a portable speedlight, a circular polarizer, and an ND filter for long exposures. Full lighting setups for wedding portraits usually build in at least one of these modifiers as backup, no matter what time the ceremony starts.
Midday isn’t always the enemy, either. Strong overhead sun is exactly what you want for bold silhouettes, high-contrast editorial images, or graphic black-and-white work where hard shadows become part of the composition instead of a problem to fix.
How Do Season and Latitude Change Golden Hour Timing?
Golden hour and blue hour don’t happen at the same clock time year-round, and the shift depends on where you live. Higher latitudes and winter months stretch golden hour out, sometimes to well over an hour, while locations near the equator compress it into a brief 20-minute window regardless of season.
- In summer, golden hour might fall as early as 5:30 AM or as late as 8:30 PM in some regions.
- In winter, that same golden light can land in the middle of a normal workday, sometimes close to noon at extreme latitudes.
- In some winter locations, golden hour occurs during standard business hours, which actually makes scheduling easier for working clients.
The rule that matters: plan around the sun’s angle, not a fixed clock time. A planning app will always beat guessing from memory, especially if you’re shooting somewhere new.
What Camera Settings Work Best for Each Time of Day?
Starting points save time on location. Adjust from here based on your specific light, but these settings get you close in under a minute.
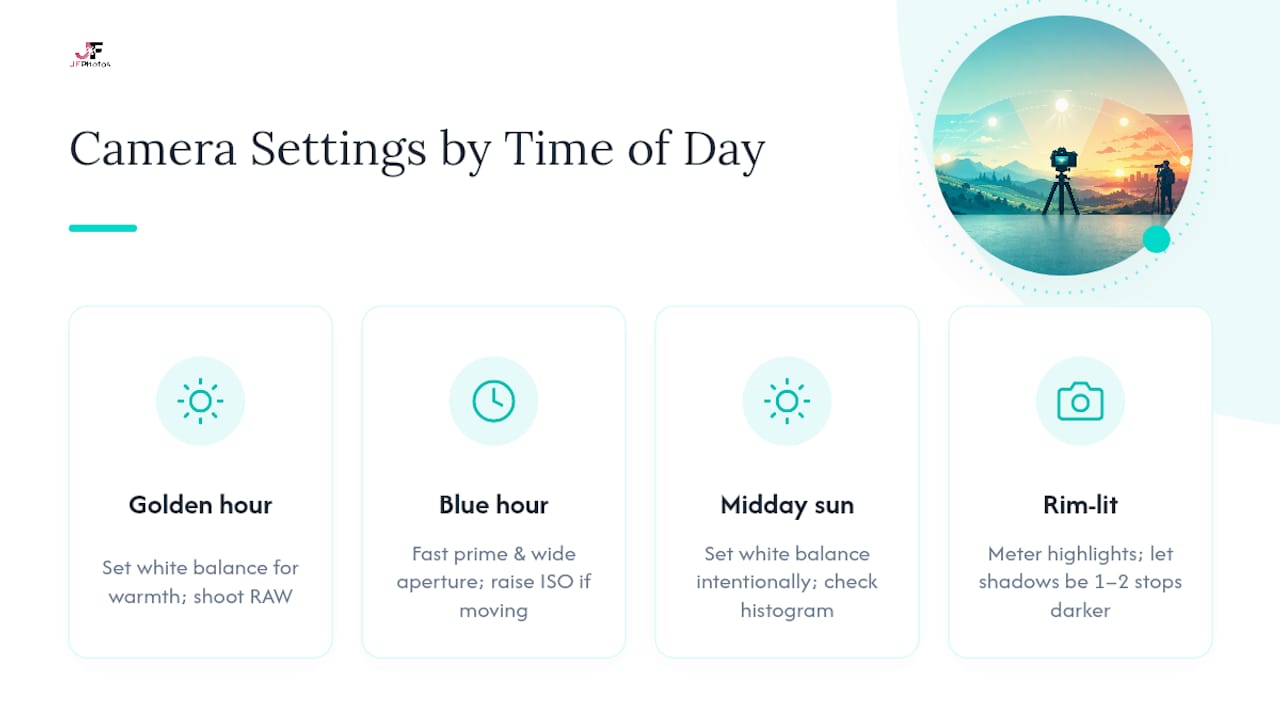
A few non-negotiables apply across every scenario. Shoot RAW so you retain flexibility in white balance and exposure later. Set white balance intentionally rather than trusting auto, since golden hour’s warmth and blue hour’s cool cast both confuse automatic settings. Check your histogram and highlight warnings on location, not after you’ve packed up.
For rim-lit backlight shots, meter for the highlights around the hair and shoulders, letting the shadowed side of the face go a stop or two darker for drama. For blue hour, favor a fast prime over bumping ISO too high. A wider aperture keeps noise down while still letting in enough light to freeze motion.
Pro Tip: If you’re torn between raising ISO and slowing your shutter during blue hour, raise ISO first when your subject is moving, and slow the shutter first when your subject is still. A blurred face ruins a portrait faster than a little extra grain.
What Apps Help You Find the Exact Golden Hour Time?
Guessing golden hour by memory leads to missed light more often than not. PhotoPills calculates precise sun angles and golden-hour duration for any date and location, while timeanddate.com gives fast, reliable sunrise and sunset times worldwide. Pair either with a local weather app to check cloud cover and wind before you commit to a location.
A short client checklist keeps sessions running smoothly:
- Confirm arrival time 30 minutes before golden hour starts
- Share wardrobe guidance suited to the season and location
- Note a backup plan in case of rain or heavy cloud
- Remind clients to bring water, sunscreen, and a light layer
If the light window shifts due to weather, tell clients early. A 15-minute adjustment rarely matters, but silence about it does.
When Should You Break the Golden Hour Rule?
Golden hour isn’t always the right call. Overcast skies act like a giant softbox, evening out skin tones for a mood that warm light can’t replicate. Bold midday shadows can make a striking graphic composition when you want hard edges instead of softness, and blue hour often outshoots golden hour entirely for architecture and neon-lit cityscapes, where mixed color temperatures become the whole point of the image.
- Overcast: even, moody, forgiving skin tones
- Midday shadows: graphic silhouettes and high-contrast black-and-white
- Blue hour with artificial light: color-mixed urban and architectural scenes
Pro Tip: Scout for buildings, trees, or hills that cast usable shade earlier or later than expected. A little topography can stretch your “golden window” by fifteen minutes or more. For inspiration on framing light against structure, browse examples in portrait composition techniques, or see how other photographers approach non-traditional lighting through events like Portraits Without Faces.
How Does JFPhotos Plan a Session Around Natural Light?
Every outdoor session starts with scouting, not shooting. We check the location for shade options, confirm golden-hour timing for that exact date, and send clients a pre-shoot checklist covering wardrobe and arrival time. We build in a buffer, arriving before golden hour starts so lenses are set and locations are chosen before the light turns.
The shot sequence matters as much as the light itself: safer, reliable portraits come first, experimental backlit or silhouette frames come once we know the essentials are captured. A quick camera-back review between setups catches exposure issues before they cost usable minutes.
Standard kit for outdoor sessions:
- A full-frame body with strong high-ISO performance
- 50mm and 85mm primes for classic portrait compression
- A 24-70mm for versatility across wide and tight shots
- One speedlight, a collapsible reflector, and a scrim for midday backup
- A tripod for blue hour and low-light frames
That workflow, refined over a decade of Arizona sessions, is also covered in more depth in our outdoor family photo location guide.
How Do You Shoot Well When Natural Light Isn’t an Option?
Not every session happens outdoors during golden hour. Indoor portraits, evening events, and overcast days without much ambient light all call for artificial lighting that mimics what natural light does well: soft, directional, and flattering.
Start with a single key light and a diffuser, whether that’s a softbox, umbrella, or even a bedsheet over a speedlight. Hard, undiffused flash creates the same harsh shadows that midday sun does, so softening the source matters more than the wattage. Position the light at roughly a 45 degree angle to your subject’s face rather than straight on, which recreates the dimensional shadowing that makes golden hour portraits look three-dimensional.
Bounce flash off a ceiling or wall when you’re indoors and want a softer, more ambient look without extra gear. White or neutral-colored surfaces work best; colored walls will tint your entire image, which can ruin skin tones fast.
For events and corporate headshots where you can’t control the room, a second light as fill reduces the harsh falloff from a single key source. Set your white balance manually rather than trusting auto, since mixed lighting (window light plus overhead fluorescents plus flash) confuses automatic settings and produces inconsistent color across a shoot.
A reflector still earns its place indoors. Positioned opposite your key light, it bounces just enough fill into shadows to keep skin tones even, the same principle that makes outdoor reflectors useful in open shade.
A Photographer’s Take on Sunrise vs. Sunset Sessions
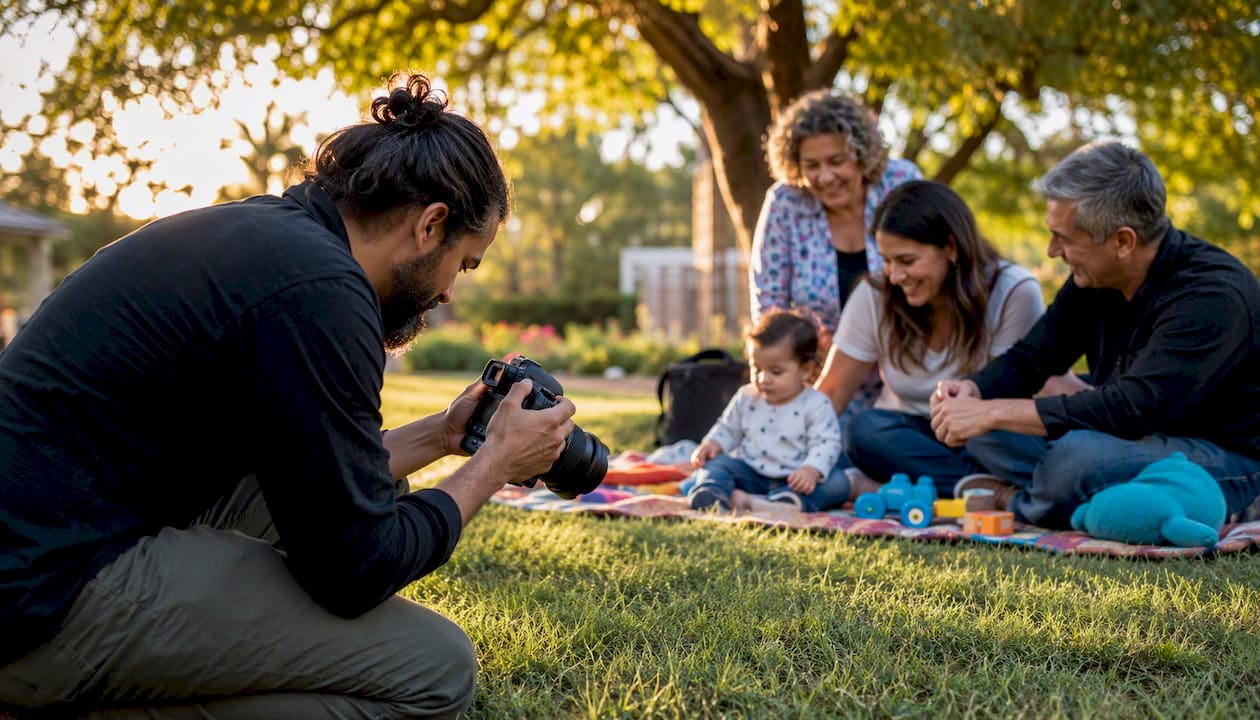
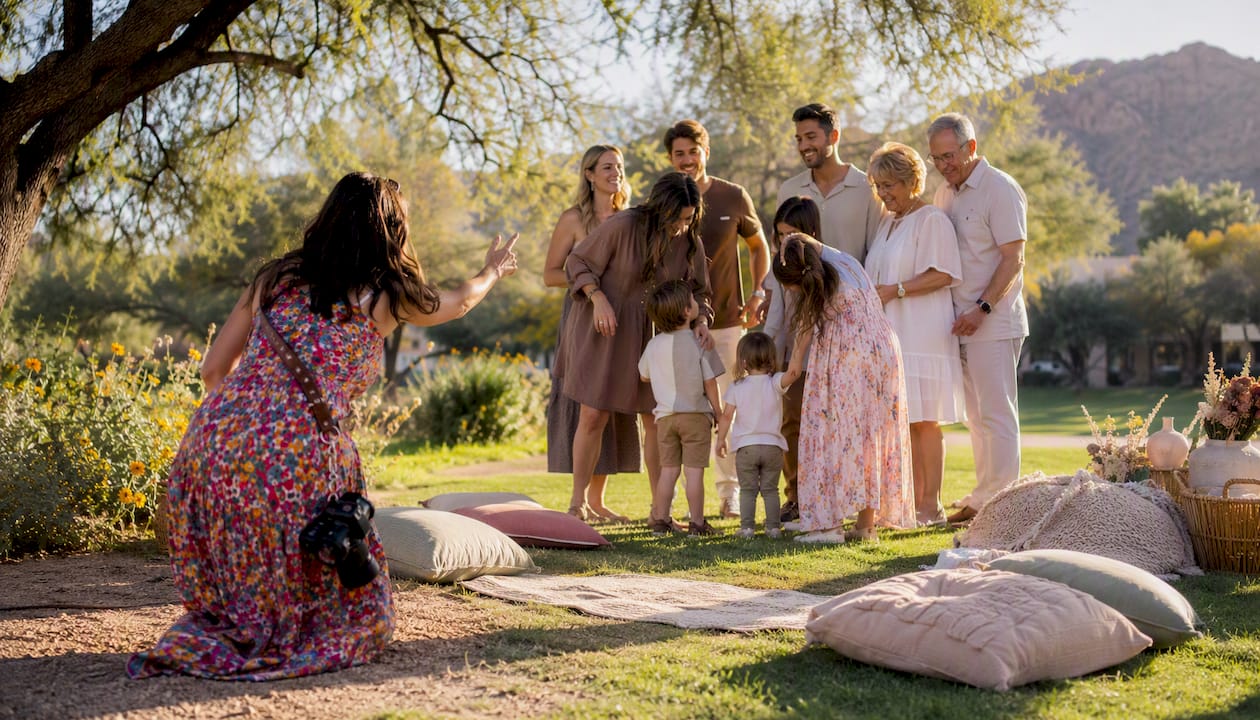
For a family session, I choose sunrise when the family wants a quiet location and sunset when they want that classic warm glow for the finale. On one recent shoot, we arrived early to use open shade for the first frames, then finished right as golden-hour backlight hit. Planning the sequence beforehand meant we never wasted a single minute of that light.
Ready to Book a Session Timed Around the Best Light?
Plenty of photographers will show up whenever your calendar has an opening, then fight the light once they arrive. JFPhotos schedules every outdoor session around golden hour, blue hour, or the best available alternative for that day, so you’re not paying for a shoot fighting harsh midday shadows.
Here’s what that looks like in practice when you book with us:
- Scheduling built around light, not just calendar availability
- Location scouting for shade, backdrop, and backup options before you arrive
- A light-driven shot sequence, so the best frames happen during the best minutes
- Portable lighting backup (reflectors, scrims, speedlights) if weather or timing shifts
Whether you’re planning a family portrait session or a full wedding day timeline, our wedding photography services build the schedule around sunrise, sunset, and everything in between. Ready to lock in a date? Reach out to check availability and get a timeline built around the light your session actually needs.
Sources
Recommended
Recent Posts