

Wedding Portrait Lighting Techniques: Practical Setups
The most effective wedding portrait lighting techniques are natural backlight, three-point off-camera flash with modifiers, and controlled continuous LEDs for reception work. These three approaches cover nearly every scenario you will face on a wedding day because they address the three qualities that matter most: shape (shadows that create dimension), separation (highlights that pull subjects off the background), and direction (where the light originates). Master those three, and you can diagnose any lighting situation and fix it fast.
Quick setup shortlist:
- Golden-hour backlight: Position subjects with the sun behind them, meter for the face, underexpose ambient 1–1.5 stops, add a low-power fill flash or reflector for catchlights.
- One-light off-camera flash for bridal portraits: Large softbox or octabox at 45° above eye level, 1–2 stops above ambient, reflector below for fill.
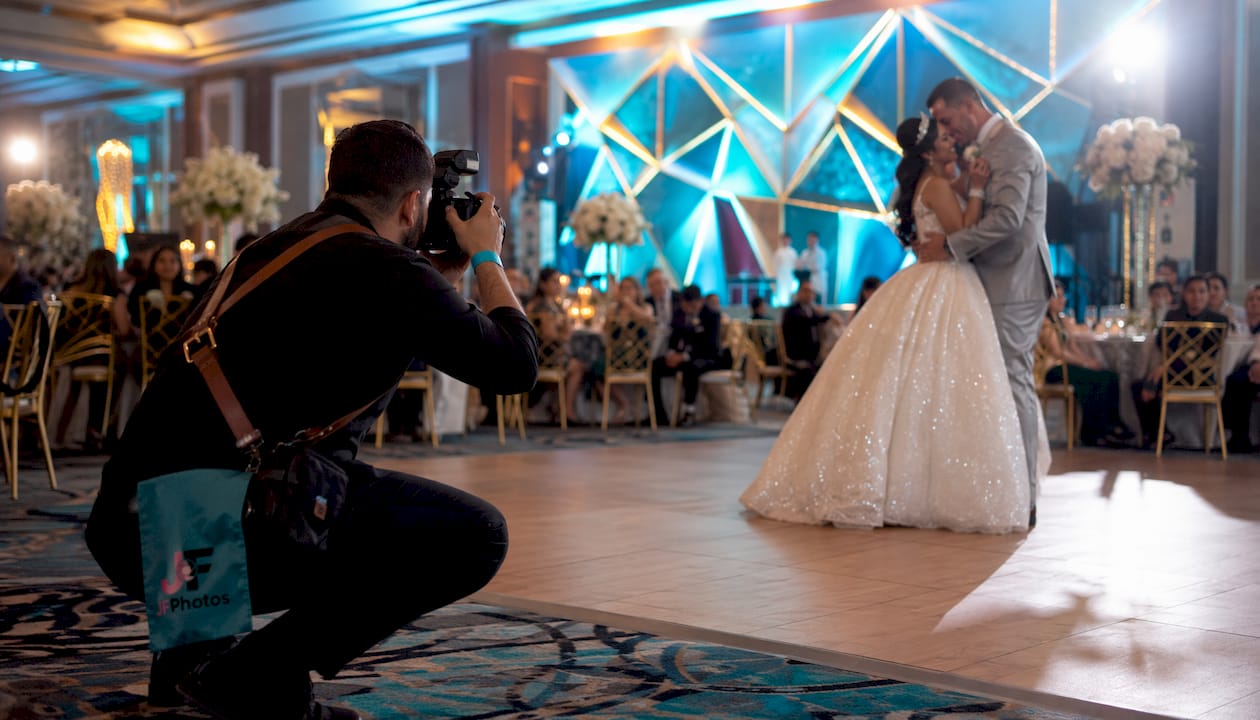
- Two-flash cross-light for first dance: One flash per opposite corner of the dance floor, both at equal power, shutter dragged to 1/60s to preserve venue ambience.
Pro Tip: Before you touch a single light, read the existing scene. Ask yourself: where is the shape coming from, is there separation between subject and background, and what direction is the dominant source? Those three questions take ten seconds and save you from setting up gear you do not need.
Table of Contents
- What are the core lighting principles every wedding photographer needs?
- How do you use natural light effectively throughout a wedding day?
- How should you use on-camera and bounce flash at a wedding?
- What off-camera flash setups produce the best wedding portraits?
- How do you use LED and continuous light at receptions without killing the ambience?
- Which portrait lighting patterns should you use at a wedding?
- What are the go-to lighting setups for each wedding moment?
- Camera and flash settings cheat-sheet photographers can memorize
- How do you troubleshoot lighting problems fast during a wedding?
- What gear do you need for wedding portrait lighting?
- Key Takeaways
- How JFPhotos approaches lighting on every wedding day
- Useful sources for deeper study
What are the core lighting principles every wedding photographer needs?
Strong wedding portrait lighting starts with three practical qualities: shape, separation, and direction. Shape means shadows are doing work, giving the face dimension rather than a flat, even wash. Separation means there is a highlight or rim pulling the subject away from the background. Direction means you have identified where the dominant source is and positioned your subject to take advantage of it.
The inverse-square law is the most useful physics concept you will use on a wedding day. Move a light twice as far from your subject and it loses three-quarters of its intensity. Move it half as close and it becomes four times brighter. In practice, this means a large softbox placed close produces soft, wrapping light with fast falloff. Pull it back and the light gets harder and more even. Use this to control how much the background goes dark relative to your subject.
Three-point lighting (Key / Fill / Rim) is the backbone of most professional reception setups. The key light is your primary source, the fill reduces shadow contrast, and the rim separates the subject from the background. On a wedding day, you can substitute a reflector or a window for a dedicated fill, and natural backlight for a rim. The three-point lighting system adapts to both studio and on-location settings without requiring a full studio kit.
When to use TTL versus Manual comes down to predictability. TTL reads the scene and adjusts automatically, which makes it fast for candids where your distance to the subject keeps changing. Manual flash locks in a specific power output, so every frame at the same distance gets the same exposure. For formal portraits where you are stationary, Manual is the right call every time.
Pro Tip: Set your Manual flash power first, confirm your exposure on a test frame, then shoot the whole sequence without touching the dial. Consistency across a set of formals is far more valuable than chasing the “perfect” single frame.
How do you use natural light effectively throughout a wedding day?
Natural light is your most available tool, and it rewards photographers who know how to read it rather than just find it. The four most reliable approaches are backlight, sidelight, open shade, and window light.
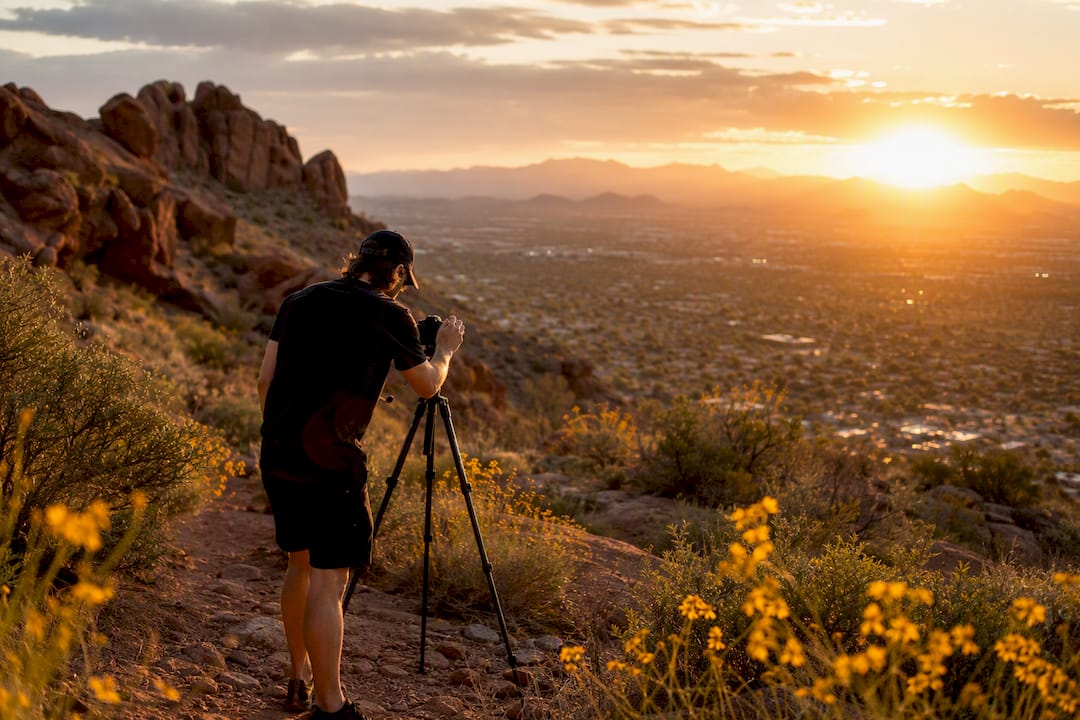
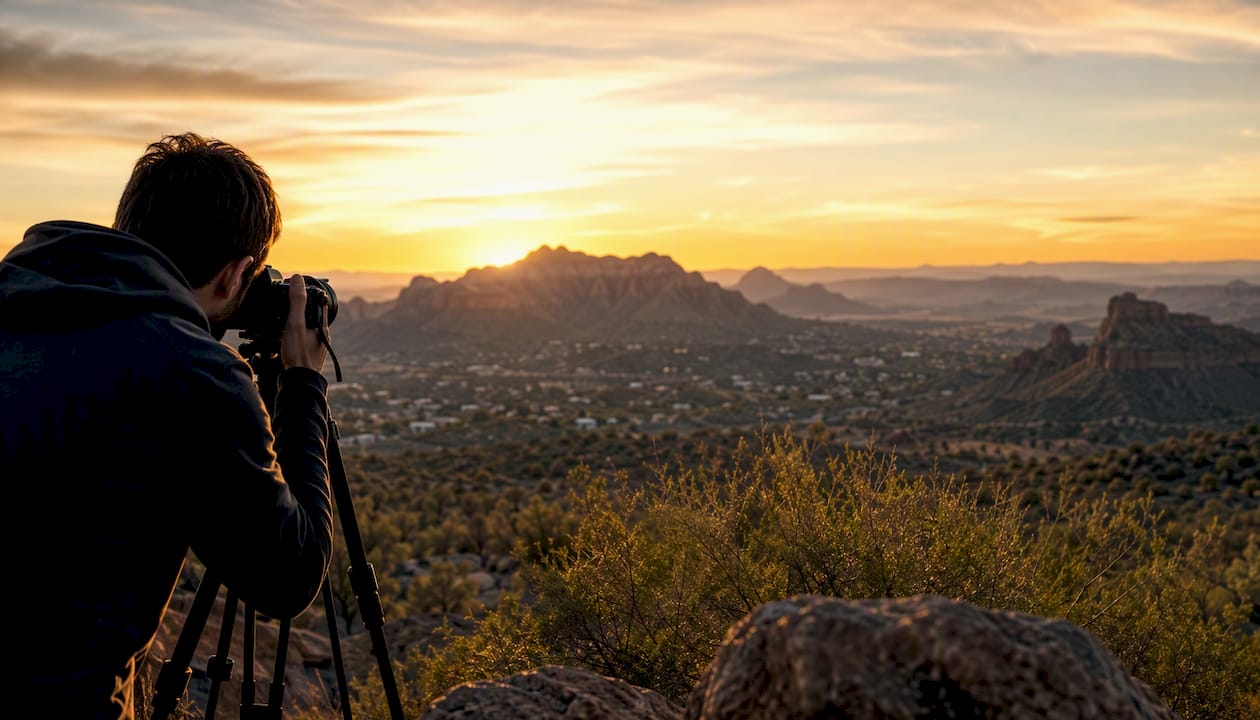
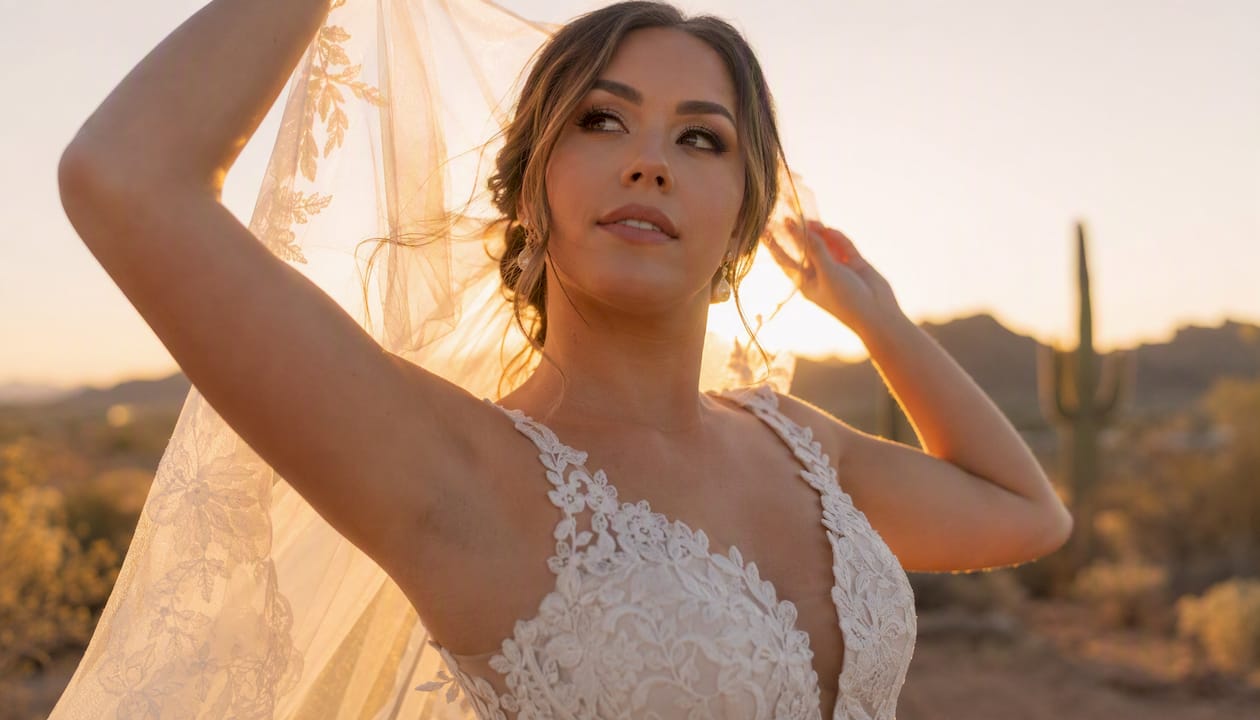
Golden-hour backlight is the default choice for outdoor couple portraits. Place subjects so the sun sits behind them, creating a warm rim around hair and shoulders. Meter for the face, not the sky. Underexpose the ambient by 1–1.5 stops to deepen the sky and background, then add a low-power fill flash or a 5-in-1 reflector to put catchlights in the eyes. The result is a portrait that feels cinematic without requiring any additional gear beyond what you already carry.
Backlight also works beyond golden hour. Veil shots in open shade with a bright background behind the couple use the same principle: the bright background creates separation, and you expose for the subjects’ faces. The 20-60-20 compositional rule applies here too: keep the couple as the dominant 60% of the frame, use the bright background as one 20% element, and let a detail like the veil or bouquet fill the remaining 20%.
Open shade vs. deep shade is a distinction that changes your results dramatically. Open shade, the kind you find on the shaded side of a building with open sky in front of the subjects, gives you directional soft light that still models the face. Deep shade, under a dense tree canopy or in a covered walkway with no open sky, is flat and muddy. If your subjects are in deep shade, move them toward the edge where open sky can reach them. Open shade provides directional soft light, while deep shade lacks directionality and yields flat results.
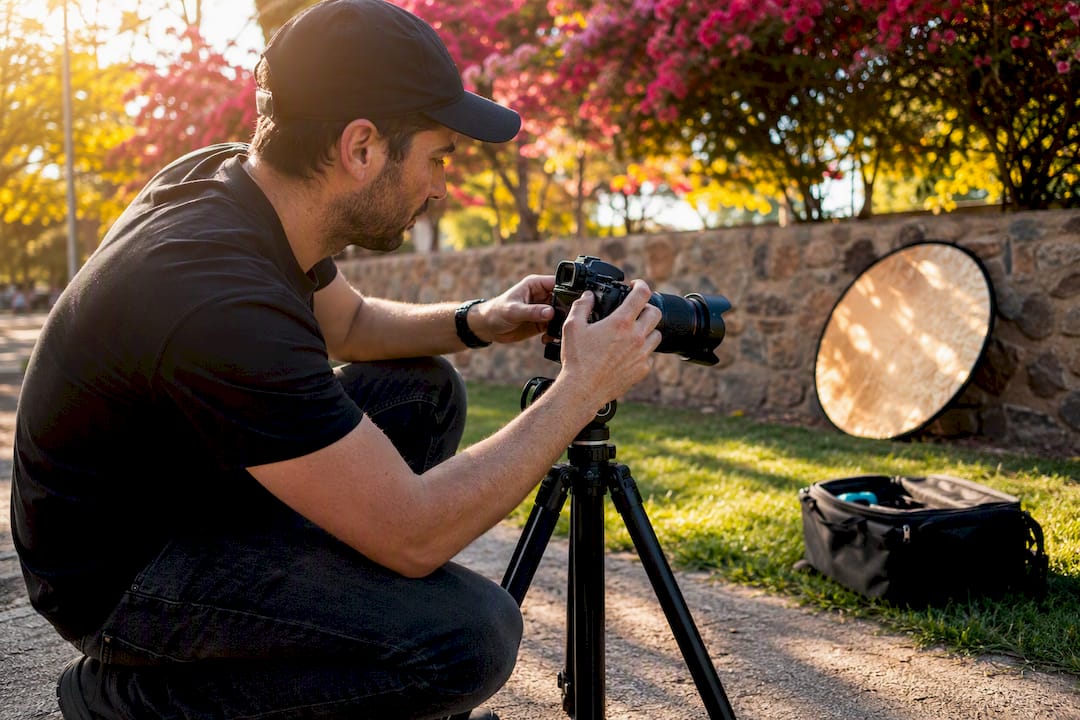
Window light for indoor bridal portraits is one of the most flattering sources available. Position the subject at a 45° angle to the window, roughly one to two feet back from the glass. The closer they stand, the softer and more wrapping the light. Place a white reflector or foam core on the shadow side to lift the fill ratio. Avoid positioning subjects directly in front of the window unless you want a silhouette or a high-key look.
- Sidelight at roughly 45° gives dimensional noses and defined cheekbones, particularly useful for groom portraits.
- Pocket light is the technique of finding a small, isolated shaft of light (a doorway, a gap in curtains) and placing the subject precisely in it to separate them from a darker background.
- Direct light used intentionally, such as harsh midday sun as a dramatic edge light, can work for editorial-style portraits when you want texture and contrast.
Pro Tip: For veil shots, position the couple so the veil catches backlight and the camera shoots slightly into the light. Expose for the faces, let the veil go slightly bright, and the translucency creates a natural glow that no flash can replicate.
How should you use on-camera and bounce flash at a wedding?
On-camera flash gets a bad reputation, but used correctly it solves real problems fast. The key is direction. Pointing the flash head straight at subjects produces flat, harsh light with dark shadows behind them. Bouncing the flash off a ceiling or wall at a 45° angle turns that same unit into a large, soft source.
Bounce flash works best when ceilings are low (under 12 feet) and light-colored. Aim the flash head at a 45° angle toward the ceiling and slightly forward. The light bounces down and forward, wrapping around the face naturally. In warm-toned venues, the ceiling color will shift your light warm. Correct this by setting a custom white balance or adding a 1/4 CTO gel to your flash to match the ambient rather than fight it.
TTL is useful for run-and-gun candids, but Manual yields predictable exposure for formal portraits. Manual flash control gives consistent exposures across frames, which matters enormously when shooting dark suits next to a white dress. TTL can swing a full stop or more between those two subjects because the metering reads them differently.
High-Speed Sync (HSS) lets you shoot above your camera’s native sync speed (typically 1/200s or 1/250s) by pulsing the flash rapidly. Use HSS outdoors when you want a wide aperture like f/1.8 or f/2.0 in bright light without overexposing the background. The trade-off is reduced flash power, so you need to be closer to your subject or use a more powerful unit. HSS is the right call for outdoor bridal portraits in direct sun where you want a blurred background.
Starting points for common situations:
- Outdoor fill flash, shade: ISO 400, f/2.8, 1/200s, TTL at -1 EV
- Indoor bounce, reception: ISO 800, f/2.8, 1/60s, Manual at 1/4 power
- Outdoor HSS, bright sun: ISO 100, f/1.8, 1/500s, Manual at full or near-full power
Pro Tip: When bouncing flash in a venue with dark or very high ceilings, attach a small bounce card to your flash head. It kicks a small amount of light forward to create catchlights while the main bounce still softens the overall exposure.
What off-camera flash setups produce the best wedding portraits?
Off-camera flash gives you control over direction, quality, and intensity that no on-camera unit can match. Battery monolights at 500Ws can overpower ambient light in reception venues, while a pair of speedlights with radio triggers covers most outdoor and indoor portrait needs. The modifier you choose shapes the light as much as the power setting does.
One-light bridal portrait setup
Place a large softbox (24×36 inches or larger) or an octabox (48 inches) at 45° above eye level, roughly three to four feet from the subject. Start at 1–2 stops above ambient. The large modifier close to the subject produces soft, wrapping light that flatters skin and minimizes texture. Add a white reflector below and slightly in front of the subject to fill the under-chin shadow and complete the clamshell effect without a second light.
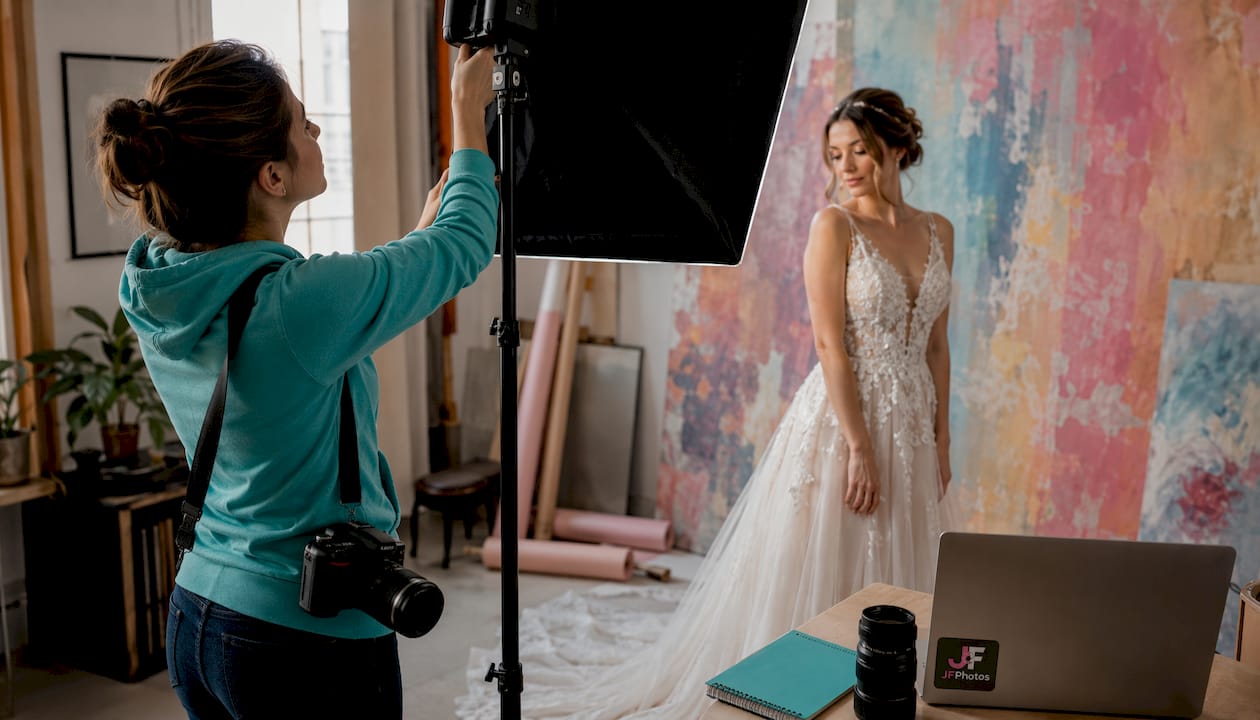
Clamshell for beauty-style bridal portraits
Key light above at 45°, fill reflector or second light below at 45°, both aimed at the subject’s face. If using a second light as fill, set it two stops below the key. The result is even, flattering light with defined cheekbones and bright catchlights. This setup works beautifully near a window where the window acts as the key and a reflector acts as the fill.
Two-flash cross-light for receptions
Cross-lighting with two flashes in opposite corners of the dance floor provides even coverage and allows you to shoot from any angle without losing your light. Set both flashes to equal power, roughly 1/4 to 1/8 on a speedlight. Add a rim light behind the couple if the background is dark. Drag the shutter to 1/60s to let venue lights register in the frame.
Modifier comparison
| Modifier | Light quality | Best use | Drawback |
|---|---|---|---|
| Large softbox (24×36"+) | Soft, directional | Bridal portraits, formals | Bulky to transport |
| Octabox (48") | Soft, circular catchlights | Beauty, clamshell | Requires stand and space |
| Shoot-through umbrella | Soft, wide spread | Quick group setups | Spills light everywhere |
| Reflective umbrella | Moderate softness | Outdoor fill | Less control than softbox |
| Grid | Hard, focused | Rim/separation light | Reduces output |
| Bare speedlight | Hard, punchy | Dramatic editorial | Harsh shadows |
- Grids and honeycombs are the right choice when you need to focus light on the subject without spilling onto venue walls or ambient lanterns.
- Snoots work for tight rim lights on hair or shoulders at receptions.
- When ceilings are too high or dark to bounce, directional modifiers like grids prevent you from washing out ambient candlelight or venue uplighting.
How do you use LED and continuous light at receptions without killing the ambience?
Continuous LEDs have a specific role at receptions: detail shots, cake cutting, speeches, and any moment where a flash burst would be disruptive or where you need to preview your light in real time. They are not a replacement for flash at the dance floor, but they fill a real gap.
The primary challenge with LEDs is color temperature. Venue lighting at receptions typically mixes tungsten (around 3200K), warm LED DJ lights, and colored uplighting. A daylight-balanced LED panel at 5600K will look cold and clinical against that warm backdrop. Match your panel’s color temperature to the dominant venue light, or use a CTO gel over the panel to warm it down. Most modern LED panels like the Godox SL-60W or Aputure Amaran series offer adjustable color temperature, which makes this straightforward.
Use LEDs for ambience and accents, and strobes for subject separation. The combination works because LEDs fill the scene with warm, continuous light that matches the venue, while a brief flash burst freezes the subject and separates them from the background. Neither tool alone achieves both goals simultaneously.
Practical placement tips:
- Position LEDs off to the side rather than directly behind the camera to preserve shadow and dimension.
- Keep LED power low enough that it does not compete with or overpower venue uplighting.
- For cake-cutting shots, a small LED panel held by an assistant at 45° to the side gives clean, directional light without the harsh shadow of a direct flash.
Pro Tip: At receptions with strong colored DJ lighting, do not fight the color. Set your white balance to match the dominant color cast, let the venue lights do their work, and use your flash or LED only for subject separation. Trying to neutralize every color in post creates flat, lifeless reception images.
Which portrait lighting patterns should you use at a wedding?
The nine foundational portrait lighting patterns give you a complete vocabulary for shaping light on any subject. Here is how each one works and where it fits on a wedding day.
- Loop lighting: Light at 45° off-axis and slightly above eye level, creating a small loop shadow from the nose. Flattering on most faces. Use for couples portraits and headshots near a window.
- Rembrandt lighting: Light further to the side and higher, so the nose shadow connects with the cheek shadow, trapping a triangle of light under the eye. Moody and dimensional. Use for groom portraits or dramatic couple shots in low light.
- Butterfly (Paramount) lighting: Light directly above and behind the camera, angled down, creating a butterfly-shaped shadow under the nose. Flattering for high cheekbones. Use for bridal headshots near a window or with a beauty dish.
- Clamshell lighting: Key light above at 45°, fill light or reflector below at 45°. Even, flattering, and eliminates under-chin shadows. Use for bridal portraits and beauty-style shots.
- Split lighting: Light at 90° to the side, illuminating exactly half the face. Dramatic and editorial. Use sparingly for groom portraits or artistic couple shots, not for standard formals.
- Short lighting: The lit side of the face is the side turned away from the camera. Slims the face. Use for subjects who want a more defined, angular look.
- Broad lighting: The lit side faces the camera. Widens the face. Use for subjects with narrow faces or for corporate-style headshots where a fuller look is preferred.
- Rim/back lighting: Light placed behind the subject creates an edge of light around hair and shoulders. Separates subject from background. Use at receptions and for outdoor golden-hour shots.
- Cross lighting: Two lights from opposite sides, creating depth and separation. Use for dance floor coverage and group formals in large spaces.
To create Rembrandt on location, start with loop lighting and move the light higher and further to the side until the nose shadow touches the cheek shadow. A small triangle of light appears under the far eye. For rim light at a reception, place a gridded speedlight on a low stand behind the couple, aimed at their hair and shoulders. For split lighting as an editorial choice, position the subject at 90° to a window or flash and expose for the lit half of the face.
Pro Tip: Loop lighting is your default for most wedding portraits because it works on nearly every face shape and reads as natural rather than theatrical. Start there and shift toward Rembrandt or split only when the subject’s face structure or the desired mood calls for it.
What are the go-to lighting setups for each wedding moment?
Each wedding moment has a different pace, location, and emotional tone. Your lighting setup needs to match all three.
Bridal portrait
Soft, flattering light is the priority. Use a 48-inch octabox as the key light at 45° above eye level, three to four feet from the subject. Set flash power to 1–2 stops above ambient. Place a white reflector below the face to fill under-chin shadows. Shoot at f/2.8 to f/4 for a clean background separation. This setup works indoors near a window or outdoors in open shade.
Couple at golden hour
Expose for the sky first. Set your camera to underexpose the ambient by 1–1.5 stops, then add a low-power fill flash (TTL at -1 to -2 EV, or Manual at 1/16 power on a speedlight) to put catchlights in the eyes and lift the faces slightly. Keep the flash power low so it reads as natural, not artificial. The 20-60-20 rule helps here: the couple fills 60% of the frame, the sky and background fill one 20%, and a detail like the dress or landscape fills the other 20%.
Family formals
Speed matters more than perfection. Use one-light bounce flash on-camera (ceiling bounce at 45°) or a single off-camera softbox on a stand at 45°. Keep the setup identical for every group so your exposure stays consistent. Set Manual flash at a fixed power, confirm on the first frame, and shoot the entire sequence without adjusting. ISO 400, f/5.6, 1/200s is a reliable starting point for indoor formals with flash.
For first dance coverage, shutter drag combined with a flash burst is the core creative technique. Set your shutter to 1/60s or slower to let venue lights register as warm trails, then fire the flash at the end of the exposure to freeze the couple sharp. Two flashes in cross-light position give you 360° coverage so you can move freely around the dance floor.
Cake cutting
A single LED panel held at 45° to the side, or a gridded speedlight on a low stand, gives clean directional light without harsh shadows on the cake. Keep flash power low to preserve the warm venue light in the background.
Camera and flash settings cheat-sheet photographers can memorize
Understanding the exposure triangle(ISO, aperture, shutter speed) is the foundation for every row in this table. These are starting points, not absolutes. Adjust from them based on your specific venue and ambient light level.
| Scenario | ISO | Aperture | Shutter | Flash mode | Starter power |
|---|---|---|---|---|---|
| Outdoor golden hour, backlit | 200 | f/2.8 | 1/200s | TTL, -1 EV | Low fill |
| Outdoor bright sun, HSS | 100 | f/1.8 | 1/500s | Manual/HSS | Full or near-full |
| Open shade, outdoor formals | 400 | f/4 | 1/200s | TTL | Moderate fill |
| Indoor reception, bounce | 800 | f/2.8 | 1/60s | Manual | 1/4 power |
| Low-light dance floor | 1600 | f/2.8 | 1/60s | Manual | 1/8 power |
| Bridal portrait, softbox | 400 | f/2.8–f/4 | 1/200s | Manual | 1/2 power |
Two rules of thumb to memorize:
- Keep your flash 1–2 stops below ambient to preserve warmth and avoid the “lit by flash” look. Let the venue do the heavy lifting; your flash is there for separation and catchlights.
- Drag the shutter (1/60s–1/100s) at receptions to let ambient light register. Combine with a rear-curtain sync flash to freeze the couple at the end of the exposure while motion blur trails behind them.
Pro Tip: Pack at least four fully charged batteries per speedlight and carry a portable battery bank for LED panels. A flash that dies mid-reception is not a gear problem, it is a preparation problem. Label your batteries with colored tape so you always know which ones are fresh.
How do you troubleshoot lighting problems fast during a wedding?
Wedding days move fast and lighting problems do not wait for you to think. Here are the fixes that work without a gear swap.
Color temperature fixes:
- Mixed tungsten and daylight? Set a custom white balance to the dominant source and correct the minority source with a gel. A 1/2 CTO gel on your flash matches it to tungsten venue lighting.
- LED DJ lights casting colored spill? Move your subject a step or two away from the colored wash, or use a gridded modifier to prevent the spill from hitting your subject’s face.
- Greenish fluorescent overhead light? A 1/4 magenta gel on your flash neutralizes the green cast.
Pocket fixes:
- No reflector? Use a white foam core board, a white shirt, or even a light-colored wall to bounce fill light onto the subject’s shadow side.
- Subject squinting in bright backlight? Move them two steps into open shade while keeping the bright background behind them, or use a faster shutter to reduce ambient and add fill flash.
- Lost separation between subject and dark background? Add a gridded speedlight behind the subject aimed at their hair and shoulders. Even 1/16 power creates a visible rim.
Speed fixes:
- Flash recycling too slowly? Lower power by one stop and raise ISO by one stop. You get the same exposure with a faster recycle time.
- Trigger misfires? Carry a backup set of optical slave triggers. They are not as reliable as radio triggers, but they fire in a pinch.
- White balance shifting between indoor and outdoor shots? Shoot RAW and set a consistent white balance in post rather than chasing it in-camera during a fast-moving timeline.
What gear do you need for wedding portrait lighting?
A practical wedding lighting kit does not need to be heavy. It needs to be fast to set up, reliable, and flexible enough to cover every moment from ceremony to last dance.
Core lights:
- 2–3 speedlights (Godox V1, Profoto A10, or Canon/Nikon/Sony system flashes) for versatility and portability
- 1–2 battery monolights (Godox AD200 Pro or AD600 Pro) for situations where you need to overpower ambient light
Triggers:
- Radio triggers for every flash unit (Godox X2T or PocketWizard Plus X are reliable North American choices)
- One set of optical slave triggers as backup
Modifiers:
- One large softbox (24×36 inches minimum) or 48-inch octabox for portraits
- One shoot-through umbrella for quick group setups
- A set of grids for your speedlights to control spill at receptions
- 5-in-1 reflector (42 inches) for natural light fill and bounce
Accessories:
- Extra batteries: four per speedlight, minimum
- Portable LED panel (Godox SL-60W or Aputure Amaran 100x) for detail and reception shots
- Gel kit: 1/4 CTO, 1/2 CTO, 1/4 magenta, plus a set of colored gels for creative reception work
- Fast portrait lens: 85mm f/1.8 or 50mm f/1.4 for low-light flexibility
Pack your lighting kit in a rolling case with modifiers broken down and labeled. Set it up in your living room the night before the wedding and run through each setup once. Muscle memory built at home translates directly to speed on the wedding day, and speed is what separates a photographer who gets the shot from one who misses it.
For a broader look at event photography gear, the same principles of portability and redundancy apply across all event work.
Pro Tip: Use a creative portrait checklist to run through your planned setups before each session. Checking off your modifier, trigger, and power settings takes two minutes and prevents the most common on-site mistakes.
Key Takeaways
Mastering wedding portrait lighting requires reading three qualities (shape, separation, direction), building reliable Manual flash habits, and carrying a compact modifier set that covers every moment from golden-hour portraits to the last dance.
| Point | Details |
|---|---|
| Read light by three qualities | Assess shape, separation, and direction before setting up any gear. |
| Use Manual flash for consistency | Manual flash delivers predictable exposures across dark suits and white dresses. |
| Drag the shutter at receptions | A shutter speed of 1/60s with rear-curtain flash preserves venue ambience while keeping subjects sharp. |
| Match your modifier to the moment | Octabox for bridal portraits, grids for reception rim lights, umbrella for fast group setups. |
| Practice setups before the wedding | Running through each lighting configuration at home builds the muscle memory you need on the day. |
How JFPhotos approaches lighting on every wedding day
Wedding lighting is one of those skills where the gap between knowing the technique and executing it under pressure is wider than most photographers expect. The theory is straightforward. The application, when you have a 20-minute window for couple portraits and the sun is dropping faster than planned, is where preparation separates reliable results from lucky ones.
At JFPhotos, the workflow starts before the wedding day. Pre-light scouting, whether in person or through venue photos and a site visit, identifies the key portrait locations, the direction of natural light at the expected shooting times, and the ceiling height and color in the reception space. That information determines which modifiers go in the bag and whether battery monolights or speedlights are the right call for the evening.
During the wedding, the two-flash evening routine is the default: cross-light setup on the dance floor with both flashes at equal power, shutter dragged to 1/60s, and a gridded rim light behind the couple for separation. Backup triggers and a set of optical slaves travel in the kit every time, because a trigger failure at 9 PM is not a situation you solve by improvising.
The JFPhotos wedding photography portfolio shows how these techniques translate across Arizona’s diverse venues, from bright desert outdoor ceremonies to warm, low-light reception halls. If you want to see how lighting choices map to different wedding photography styles, the wedding photography styles guide walks through how each aesthetic requires a different lighting approach.
If you are building your own wedding photography workflow and want hands-on guidance, reach out to JFPhotos to discuss portfolio reviews or practical lighting workshops.
Useful sources for deeper study
The sources below are the most useful for photographers who want to go beyond the setups covered here and build a deeper technical foundation.
- 9 Types of Portrait Lighting (PPA): The Professional Photographers of America’s breakdown of the nine standard patterns. Best for technical mastery of pattern recognition and application.
- Portrait Lighting: Everything You Need to Know (NFI): A thorough beginner-to-intermediate guide covering one-light, two-light, and three-light setups with clear diagrams. Best for photographers building foundational knowledge.
- Mastering Off-Camera Flash for Wedding Photography: The most practical guide available for TTL vs. Manual decision-making and modifier selection in wedding contexts. Best for photographers ready to move from on-camera to off-camera flash.
- Creative Lighting for Wedding Receptions: Covers cross-lighting, shutter drag, and ambience preservation in detail. Best for reception-specific technique development.
- Lighting Techniques That Separate Great Wedding Photos (Fstoppers): Maria Julia Carneiro’s framework for reading light by shape, separation, and direction. Best for developing a diagnostic mindset rather than memorizing recipes.
For photographers in the Phoenix area who want to see these techniques applied to real wedding work, the JFPhotos wedding photography page is the best starting point. Reach out directly to discuss your upcoming wedding or to explore available packages.
Recommended
Recent Posts