

Family Photography Outdoors: A Practical Guide for Parents
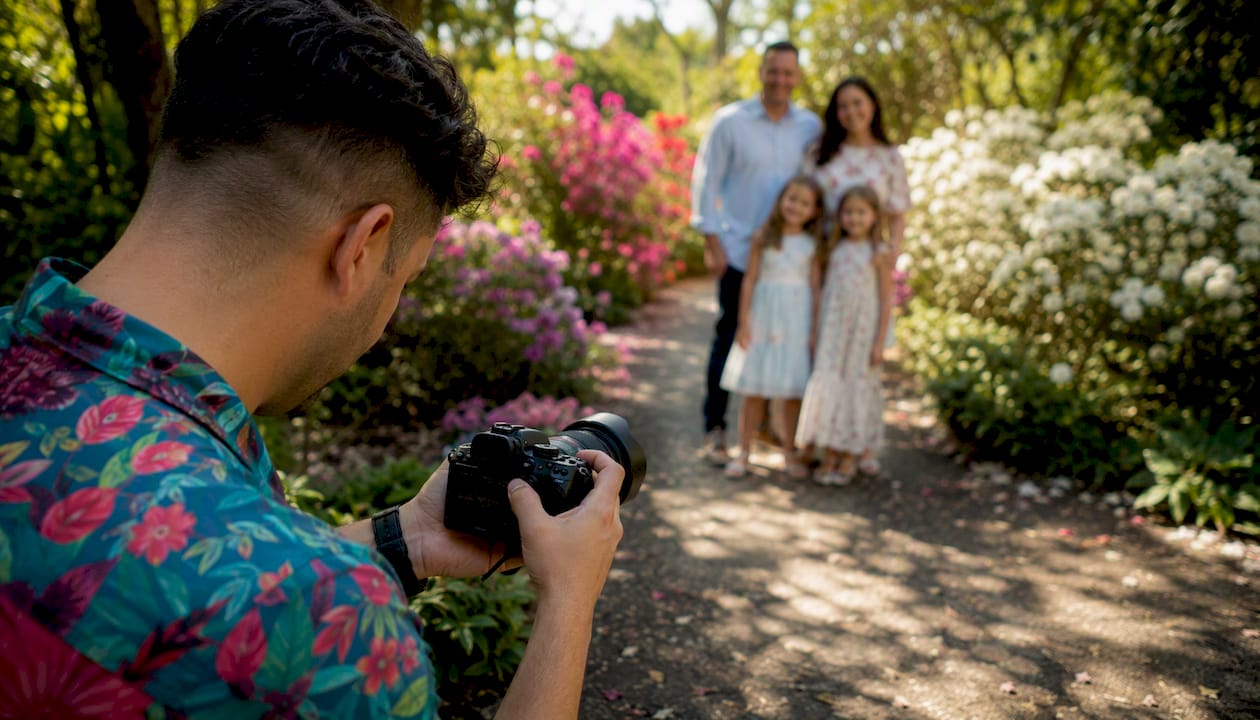
A great outdoor family session comes down to five repeatable decisions: start with light, lock in your look, pick a location that serves your family, choose the right lens, and let the landscape work for you. Nail those in order, and the rest falls into place.
Your one-line session checklist:
- Shoot during golden hour or in open shade
- Secure one clean group portrait in the first 10 minutes
- Bring water, snacks, wipes, and one backup outfit per child
DIY vs. hire a pro — the short version:
- DIY works well for casual, low-stakes sessions where you have a steady hand, decent light, and patient kids.
- Hire a professional for milestone moments, large or multigenerational groups, or any session where the images need to last decades.
Key Takeaways
A successful outdoor family session starts with light, not location — get that sequence right and everything else follows.
| Point | Details |
|---|---|
| Start with light | Assess light before choosing a location; open shade and golden hour produce the most flattering results. |
| Use the 5 L Method | Work through Light, Look, Location, Lens, and Landscape in that order for consistent, repeatable sessions. |
| Secure the group portrait first | Capture the clean family portrait early while energy and light are at their best. |
| Prep kids practically | Schedule around naps, bring snacks and a backup outfit, and keep sessions age-appropriately short. |
| JFPhotos for milestone sessions | For large groups, milestone portraits, or heirloom prints, JFPhotos offers on-location family sessions in Phoenix, AZ with professional editing and fast delivery. |
Table of Contents
- What makes outdoor family photography work?
- Must-have poses and prompts for outdoor family photos
- When should you shoot for the best outdoor light?
- How do you choose the right location for family portraits?
- The 5 L Method: a photographer’s decision framework parents can use
- What should families wear for outdoor photos?
- What frames should every family session include?
- How long should an outdoor family session be?
- How do you get natural expressions during a session?
- DIY outdoor family photography: camera settings and phone tips
- What most outdoor family photo guides get wrong
- When a professional photographer is worth it
- Sources
What makes outdoor family photography work?
The best outdoor family portraits share one quality: they look effortless. Getting there takes a plan. Whether you’re handing a camera to a partner or booking a professional, the decisions below are what separate a gallery you’ll print from one you’ll forget.
Must-have poses and prompts for outdoor family photos
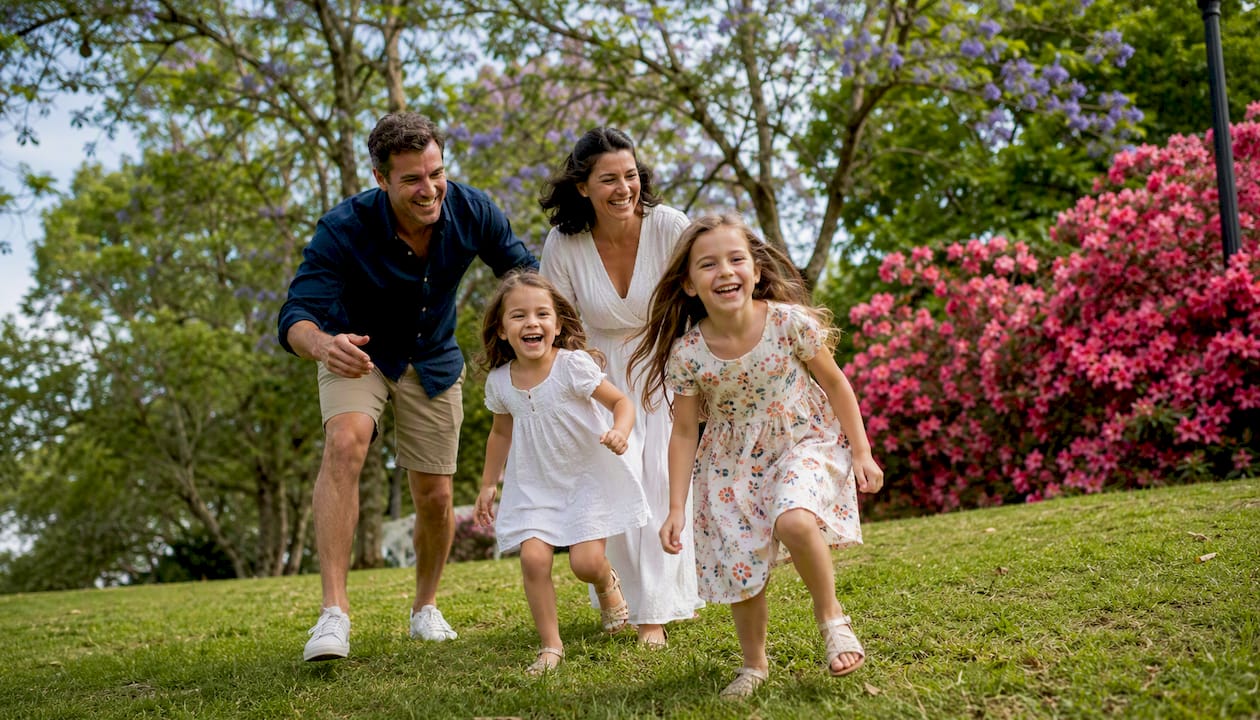
Start every session with a reliable group frame where every face is visible and nobody is hidden behind a sibling. From there, build outward.
Poses by family configuration
Couples and parents only
- Standing close, foreheads touching, eyes closed — ask them to take a slow breath together.
- Walking away from camera, hands linked, one partner glancing back.
- Seated on a blanket or low wall, leaning into each other naturally.
Newborns and babies
- Parent holds baby chest-to-chest, cheek pressed to baby’s head — shoot from slightly above.
- Both parents frame the baby between them, looking down; shoot from the baby’s eye level looking up.
Toddlers and preschoolers
- Ask a parent to whisper a silly secret in the child’s ear — genuine laughter follows almost every time.
- “Chase” prompt: tell the kids to run to a tree or a specific spot, then freeze. You get movement and a natural stop.
Siblings
- Older sibling holds or guides the younger one — creates connection without forcing a hug.
- Side-by-side walking, holding hands, looking at each other rather than the camera.
Multigenerational groups
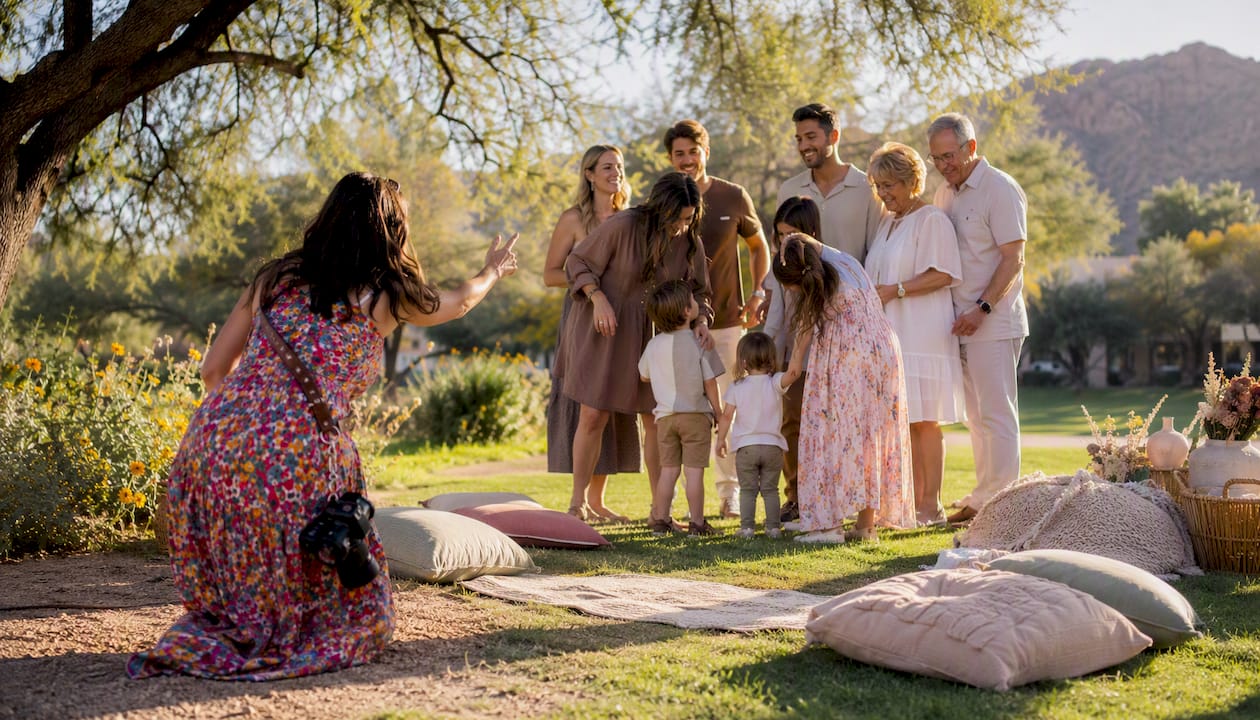
- Seat grandparents centrally, build the family around them in layers — standing behind, kneeling in front.
- Ask everyone to look at the youngest child rather than the lens for a candid frame that still reads as a portrait.
Pro Tip: From a single group pose, you can pull three distinct deliverable frames: shoot wide for the environmental context, step in for a medium crop at the waist, then zoom or move closer for a tight crop on faces. One setup, three images.
When should you shoot for the best outdoor light?
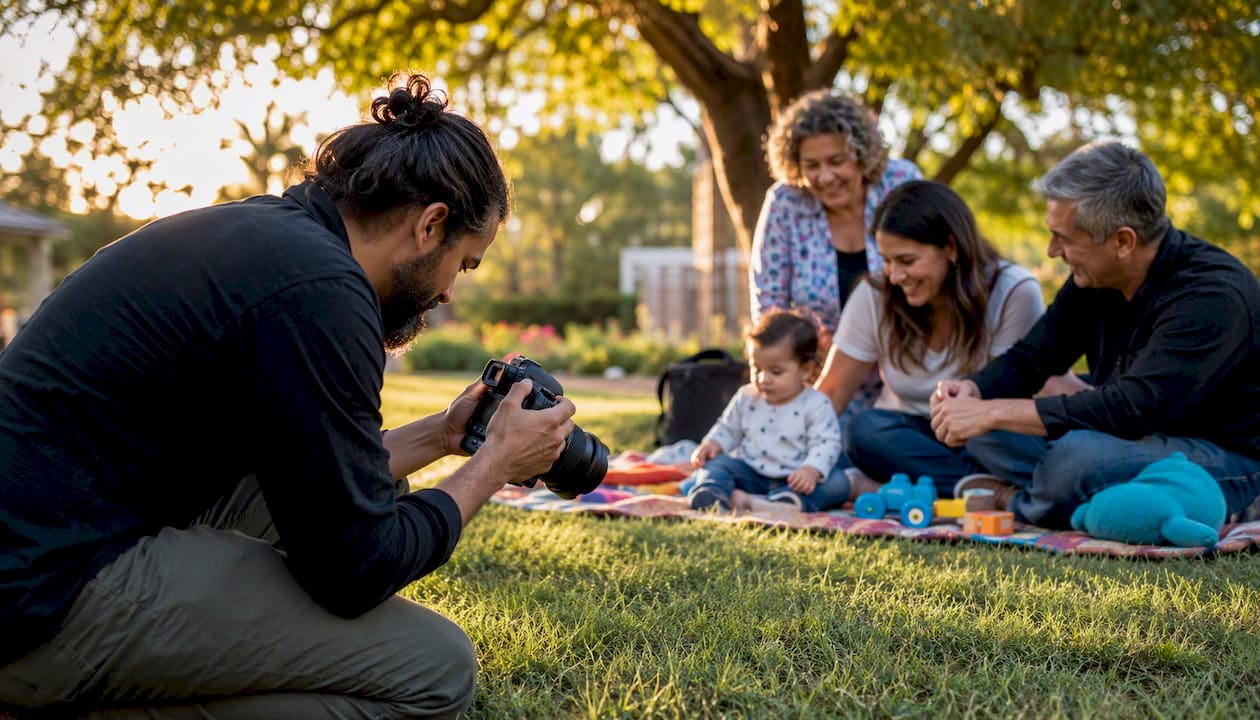
The single best default for outdoor family portraits is open shade, followed closely by the soft directional light of golden hour. Both produce flattering, even light on faces without the squinting and harsh shadows that midday sun creates.
Quick rules by lighting condition
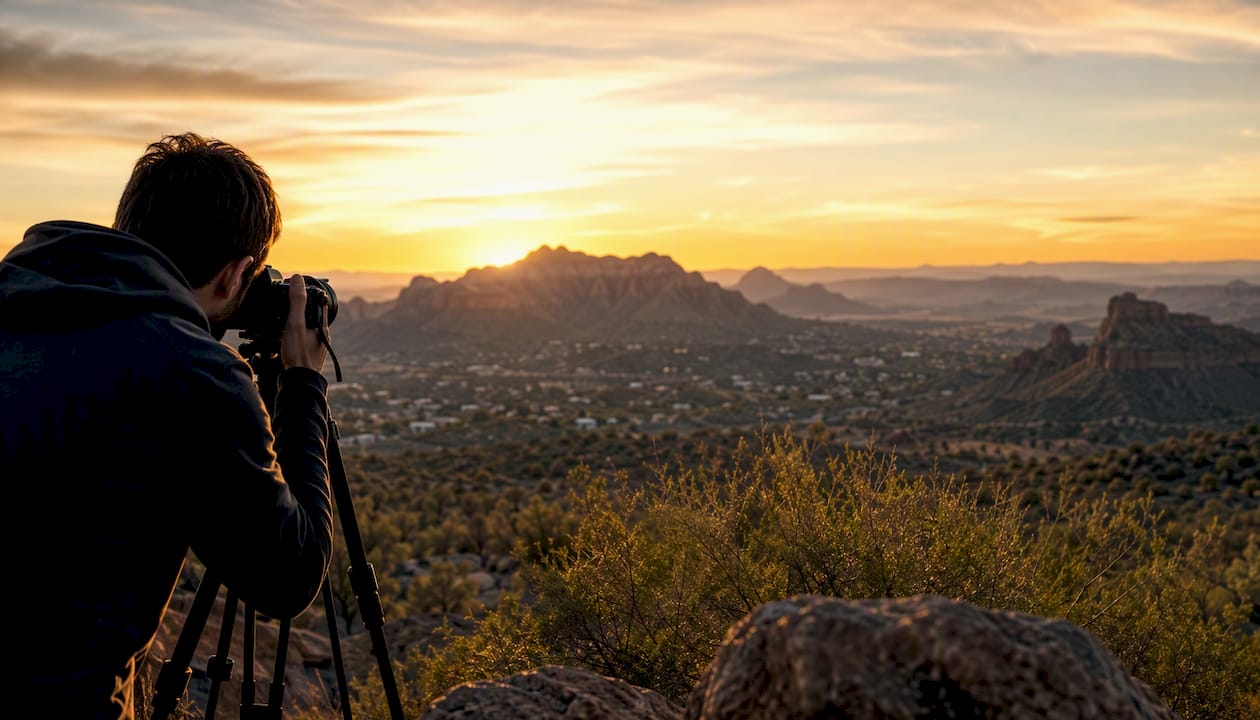
- Golden hour (first and last hour of daylight): Warm, directional, forgiving. Shoot with the sun at a 45-degree angle to your subjects’ faces for dimension. This is the natural light family photography sweet spot most photographers plan around.
- Open shade: A tree canopy, a building’s shadow, or a covered walkway all work. Light is soft and consistent — ideal when you can’t control timing.
- Backlight: Position the sun behind your subjects for a glowing rim effect. Expose for the faces, not the sky, and use a reflector or fill flash to lift shadows.
- Overcast days: Essentially a giant softbox. Colors stay true, skin tones are even, and you have more scheduling flexibility. Slightly flat, but easy to correct in post.
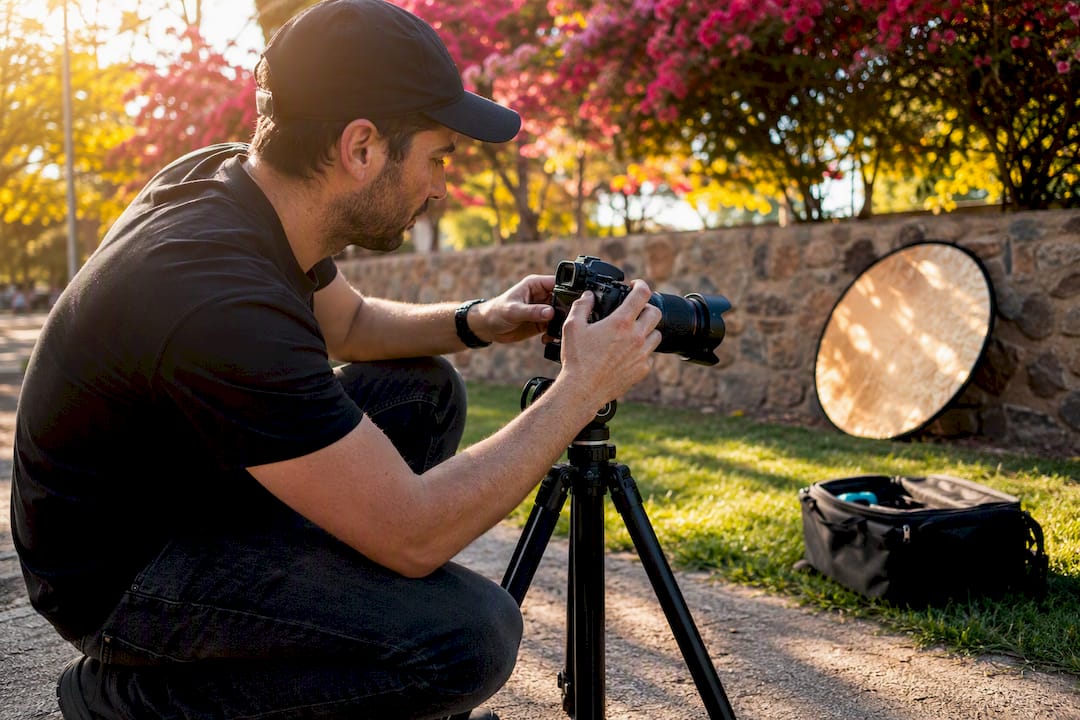
- Midday sun: Avoid direct overhead light when possible. If you’re stuck in it, move everyone into full shade, use a 5-in-1 reflector to bounce fill light, and shoot tighter crops to minimize blown-out backgrounds.
Pro Tip: Shoot a test frame of your hand in the chosen light before the family arrives. If the shadows on your knuckles are harsh, find shade or wait. If they’re soft, you’re ready.
How do you choose the right location for family portraits?
Match the location to your family’s needs first — accessibility, shade availability, and crowd levels matter more than scenic value alone. A stunning overlook that requires a half-mile hike with a stroller is the wrong choice for a family with a toddler and a newborn.
Location types and what each contributes
- City or neighborhood park: Reliable shade, varied backdrops (paths, benches, open grass), parking, and restrooms. The most logistically forgiving option for most families.
- Beach or lakefront: Open sky, natural leading lines, and movement-friendly space. Works best at golden hour when the light is low and warm. Sand is hard on toddlers’ patience — plan for a shorter session.
- Backyard: Zero travel stress, familiar environment for kids, and total scheduling flexibility. Backgrounds need more attention — clear clutter and use a longer focal length to blur distracting elements.
- Meadow or open field: Wide environmental frames, wildflowers, and natural texture. Scout for even ground and check for insects before the session.
- Urban setting: Walls, alleys, and architecture create graphic contrast. Works especially well for families who want a modern, editorial feel.
Decision checklist before you commit to a spot
- Is the location accessible for everyone in the group (strollers, elderly relatives, mobility needs)?
- Is there reliable shade or a fallback shaded area if the light changes?
- Can you control or minimize background distractions?
- How far is the walk from parking to the shooting area?
- Will the location be crowded during your session window?
- Is there a nearby backup spot if the primary location is unusable?
For more ideas organized by family type and mobility, the outdoor family photo location guide covers a wide range of options with practical notes on each.
Fallback strategy: Always identify a secondary location within 10 minutes of your primary. A simple shaded wall or covered pavilion can save a session when the planned spot is overrun or poorly lit on the day.
The 5 L Method: a photographer’s decision framework parents can use
The 5 L Method is a decision sequence designed for outdoor family photography: Light, Look, Location, Lens, Landscape. Start with light because it determines everything else.
- Light — Assess the available light before anything else. Where is the sun? Is there open shade? What direction will the light fall on faces? This single decision shapes every frame.
- Look — Define the session’s visual feel before you pick a spot. Airy and bright? Moody and rich? Candid and lifestyle-driven? Your look determines which locations and lenses serve you. The family photography style guide is a useful reference for nailing this step.
- Location — Choose the site that delivers the light and look you’ve already defined. The location serves the session, not the other way around.
- Lens — Select focal length based on the look and location. A 50mm or 85mm prime works for most outdoor family sessions; a 35mm gives more environmental context; a 70–200mm compresses backgrounds and flatters faces at a distance.
- Landscape — Use the environment intentionally. Foreground elements (tall grass, a fence line, a low branch) add depth. Leading lines (a path, a shoreline) draw the eye toward the family.
Beach session example: Light is golden hour from the west. Look is warm and lifestyle-driven. Location is the shoreline. Lens is an 85mm to compress the water behind the family. Landscape uses the wave line as a natural leading edge.
Backyard session example: Light is open shade from a tree canopy. Look is relaxed and candid. Location is the back patio. Lens is a 50mm for a natural perspective. Landscape uses a garden border as foreground texture.
Pro Tip: If you have one must-have image, tell your photographer before the session starts: “I need a clean portrait of all five of us in good light.” That single instruction lets the photographer protect time and light for that frame first, then build the rest of the gallery around it.
What should families wear for outdoor photos?
Build your outfit plan around a color palette first, then dress each family member within it. Coordinated does not mean matching — it means colors that relate to each other without competing.
Three example palettes for common settings
- Park or meadow (spring/summer): Sage green, cream, and soft terracotta. Linen textures, light layers.
- Beach or desert (warm tones): Warm white, dusty blue, and sand. Lightweight fabrics that move in the wind.
- Urban or fall foliage: Burgundy, camel, and charcoal. Denim, knit layers, and structured pieces.
Do’s and don’ts
- Do add texture: linen, knit, and denim photograph better than flat solids.
- Do layer: a light jacket or cardigan gives the photographer something to work with and keeps kids comfortable as temperatures shift.
- Don’t wear large logos or busy patterns — they pull attention away from faces.
- Don’t match everyone in identical outfits — it reads as stiff and dated in print.
- Do coordinate shoes: bare feet on a beach, clean sneakers in a park, boots in fall settings. Shoes appear in more frames than most parents expect.
For a deeper look at why palette coordination matters for the final gallery, coordinated outfits improve family photos in ways that go beyond aesthetics.
Pro Tip: Dress kids in movement-friendly clothing — elastic waistbands, no stiff collars, no dress shoes that pinch. A child who is physically comfortable stays in the session longer.
What frames should every family session include?
Secure the main family portrait early, while energy is high and light is at its best. Then build the gallery outward with smaller groupings, movement, and detail shots.
Essential shot list
- Clean group portrait: Everyone visible, good light on faces, neutral expressions or genuine smiles. This is the non-negotiable frame.
- Parent-child close-ups: Each parent with each child, individually. These become the most-used prints.
- Sibling interaction: Candid or prompted — a shared laugh, a hand-hold, a piggyback.
- Walking frame: Family moving toward or away from camera, natural and relaxed.
- Wide environmental: Pulls back to show the location — the beach, the park, the neighborhood. Gives the gallery context.
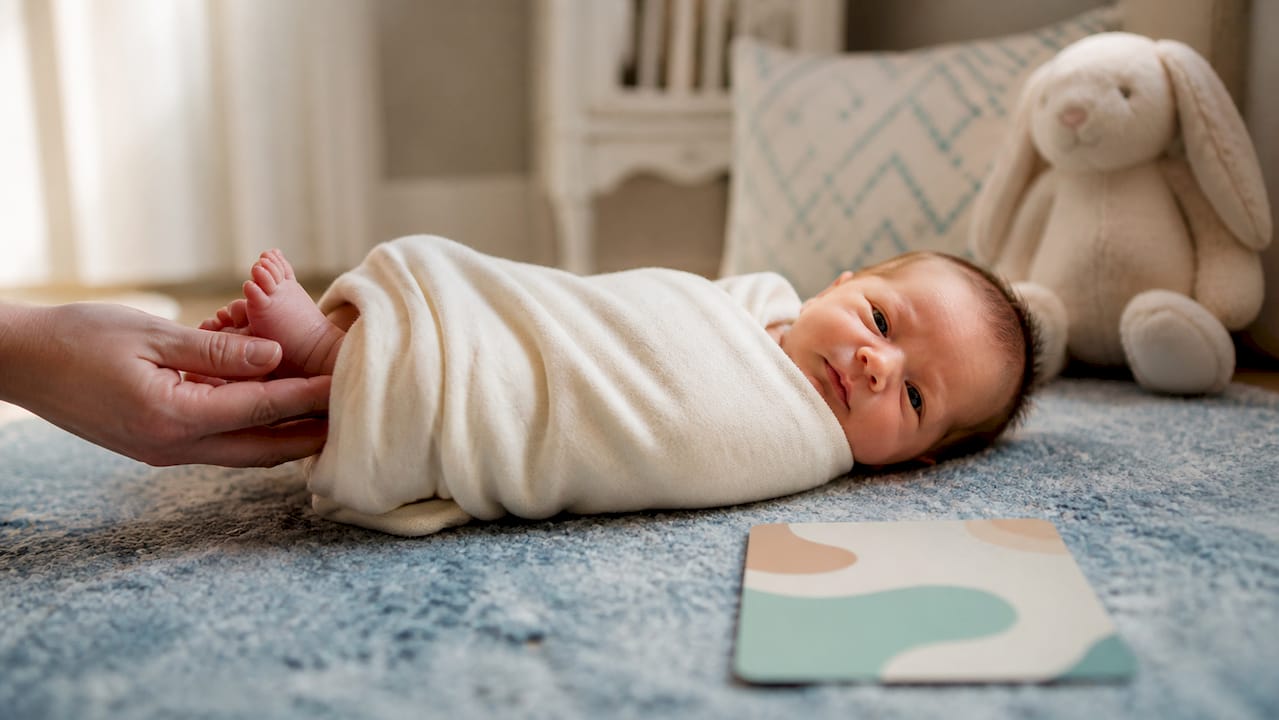
- Detail shots: Small hands, baby feet, a child’s face in profile. These are the frames parents cry over years later.
- Playful or quiet closing frame: A tickle pile, a group hug, or a quiet moment of the family sitting together. End on something real.
Varying wide, medium, and tight frames throughout the session is what makes a gallery feel like a complete story rather than a set of similar portraits.
Gallery size and delivery: A typical one-hour outdoor family session produces a moderate number of edited images. Turnaround times vary by photographer, but two to three weeks is a common delivery window for fully edited galleries. For multigenerational sessions or larger groups, the multi-generational family portrait guide covers how to structure the shot list for bigger families.
How long should an outdoor family session be?
Session length depends on the youngest child in the group. A newborn session runs 30–45 minutes maximum. Toddlers and preschoolers do best in 45–60 minute sessions scheduled around naps. School-age children and older families can sustain a full 60–90 minutes comfortably.
Packing list
Bring these to every outdoor session, regardless of age:
- Water for everyone (dehydration makes kids irritable fast)
- Snacks — something the kids love, held back until after the key portraits
- Wipes and a small first-aid kit
- One backup outfit per child
- A light blanket for seated poses and ground-level frames
- Simple props if desired: a basket, a favorite book, a small toy
Practical session prep — including snacks, comfort items, and backup clothing — is one of the most consistent recommendations from experienced family photographers, and for good reason. A hungry or uncomfortable child ends a session early.
Pricing guidance
Outdoor family portrait pricing varies based on session length, travel distance, photographer experience, and what’s included in delivery (number of edited images, print products, rush turnaround). Entry-level photographers typically charge less but may offer fewer edited images or longer delivery windows. Experienced photographers with full editing and print services charge more. Contact JFPhotos directly for current rates — pricing is specific to your session needs and location.
How do you get natural expressions during a session?
Start with movement, then freeze for still frames. Movement prompts produce natural expressions far more reliably than asking a family to stand still and smile.
Direction strategies that work
- “Walk toward me slowly” — captures relaxed body language and genuine interaction between family members.
- “Everybody squeeze” — triggers real laughter, especially with toddlers.
- “Whisper something funny in their ear” — works for any age pairing.
- “Look at each other, not me” — removes camera-awareness and produces candid connection.
Timing and sequencing
- Open with the clean group portrait while energy is fresh and light is optimal.
- Move to smaller groupings and parent-child pairs after the main portrait is secured.
- Introduce movement prompts and play in the final third of the session when the family is warmed up and relaxed.
- Close with a quiet, still moment — a seated family frame or a simple hug.
For background and composition: shoot at the family’s eye level (or the children’s eye level for child-focused frames), keep backgrounds simple and uncluttered, and check for distracting elements like poles or bright signs before you press the shutter.
For families preparing kids specifically, planning around nap schedules and bringing familiar comfort items makes a measurable difference in how long young children stay cooperative. Age-specific prep tips are worth reviewing before any session with children under four.
DIY outdoor family photography: camera settings and phone tips
If you’re shooting your own family session, a few specific settings will get you most of the way to professional-looking results — consider expert advice on Photography SEO Services | Be Discovered & Book More Shoots to also boost your online visibility if you share your photos.
Camera settings for group portraits outdoors
| Setting | Recommended value | Why it matters |
|---|---|---|
| Aperture | f/4 | Keeps the whole group sharp while softening the background |
| Shutter speed | 1/200s or faster | Freezes movement, especially with kids |
| ISO | 50–200 in good light | Keeps images clean with minimal noise |
| Focal length | 50mm–85mm | Flattering perspective, avoids distortion on faces |
| White balance | Cloudy or Shade preset | Warms skin tones in outdoor light |
Composition rules that matter most
- Keep eyes sharp — if the eyes are soft, the image doesn’t work regardless of everything else.
- Leave a little headroom above the tallest person; tight crops on the top of the head read as cramped.
- Use a foreground element (grass, a low branch, a fence) to ground the subjects and add depth.
- Follow a leading line (a path, a shoreline, a row of trees) to draw the viewer’s eye into the frame.
Phone-specific tips
- Use Portrait Mode for close-ups and parent-child pairs, but switch to standard mode for wide group shots where edge distortion can be a problem.
- Lock exposure and focus by tapping and holding on a face before shooting — prevents the camera from refocusing mid-burst.
- Use a tripod or prop the phone on a stable surface for group shots where you need to be in the frame.
- A white foam board or a car’s sun visor works as a reflector substitute to fill shadows on faces in open shade.
Keeping gear minimal and mobile is a consistent recommendation from photographers who shoot outdoor family sessions regularly — one versatile lens and a single reflector outperform a heavy kit every time.
What most outdoor family photo guides get wrong
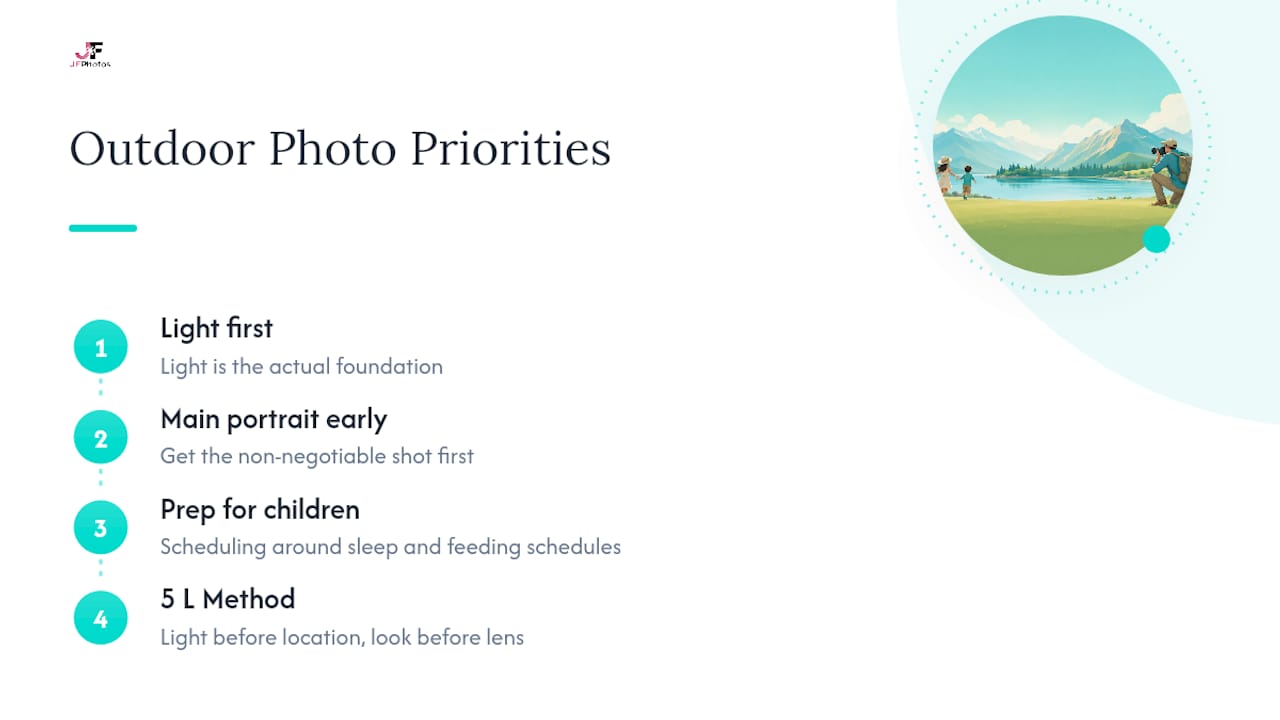
The conventional advice for outdoor family photography focuses almost entirely on location and outfits. Scroll through any popular guide and you’ll find lists of scenic spots and color palette suggestions. Those things matter, but they’re third and fourth on the priority list, not first.
Light is the actual foundation. A family in mismatched outfits photographed in open shade at golden hour will produce better images than a perfectly coordinated family shot in harsh midday sun at a stunning location. The location and the clothes don’t fix bad light. They never have.
The second thing most guides underestimate is the value of securing the main portrait early. Photographers who wait until the family is “warmed up” to shoot the group portrait often find they’ve burned the best light and the youngest child’s patience on candid frames. Get the non-negotiable shot first. Build everything else around it.
The third gap is realistic prep for children. Parents read about golden hour timing and show up with a toddler who missed their nap. The session falls apart in 20 minutes. Scheduling around sleep and feeding schedules is not a minor logistical note — it’s the single biggest variable in whether a session with young children succeeds.
The 5 L Method works precisely because it forces the right sequence: light before location, look before lens. That order is not arbitrary. It reflects how professional photographers actually make decisions on location, and it’s the clearest framework parents can use to brief a photographer or evaluate their own DIY session before it starts.
When a professional photographer is worth it
For milestone sessions, large groups, or images you plan to print and keep for decades, a professional makes a concrete difference. The gap isn’t just technical — it’s in the planning, the direction, and the ability to read light and location in real time.
JFPhotos offers on-location portrait photography sessions designed specifically for families, including multigenerational groups and milestone portraits. Sessions include pre-session planning, on-location shooting, professional editing, and fast digital delivery. For families in the Phoenix, AZ area, JFPhotos brings over a decade of experience photographing families across Arizona’s varied outdoor settings — from desert landscapes to urban neighborhoods.
The difference between a DIY session and a professional one shows most clearly in the final gallery: consistent light across every frame, natural expressions captured at the right moment, and a shot list that covers everything from the wide environmental to the quiet detail shots. To see what a professional outdoor session includes and to check availability, book a session with JFPhotos or review the full photography services overview.
Sources
These resources cover the technical and planning details in greater depth for parents who want to go further:
- How to Shoot Outdoor Family Photography: The 5 L Method I Use Every Session - The Milky Way
- Outdoor Family Photography: Practical Tips for Real Sessions, Real Light, and Real Kids
- Outdoor family portraits (how-to) - SLR Lounge
- Outdoor Family Photo Session: Your Complete Guide | One Big Happy Photo
- 6 Ways to Make Outdoor Family Portraits Shine — Rangefinder
Recommended
Recent Posts